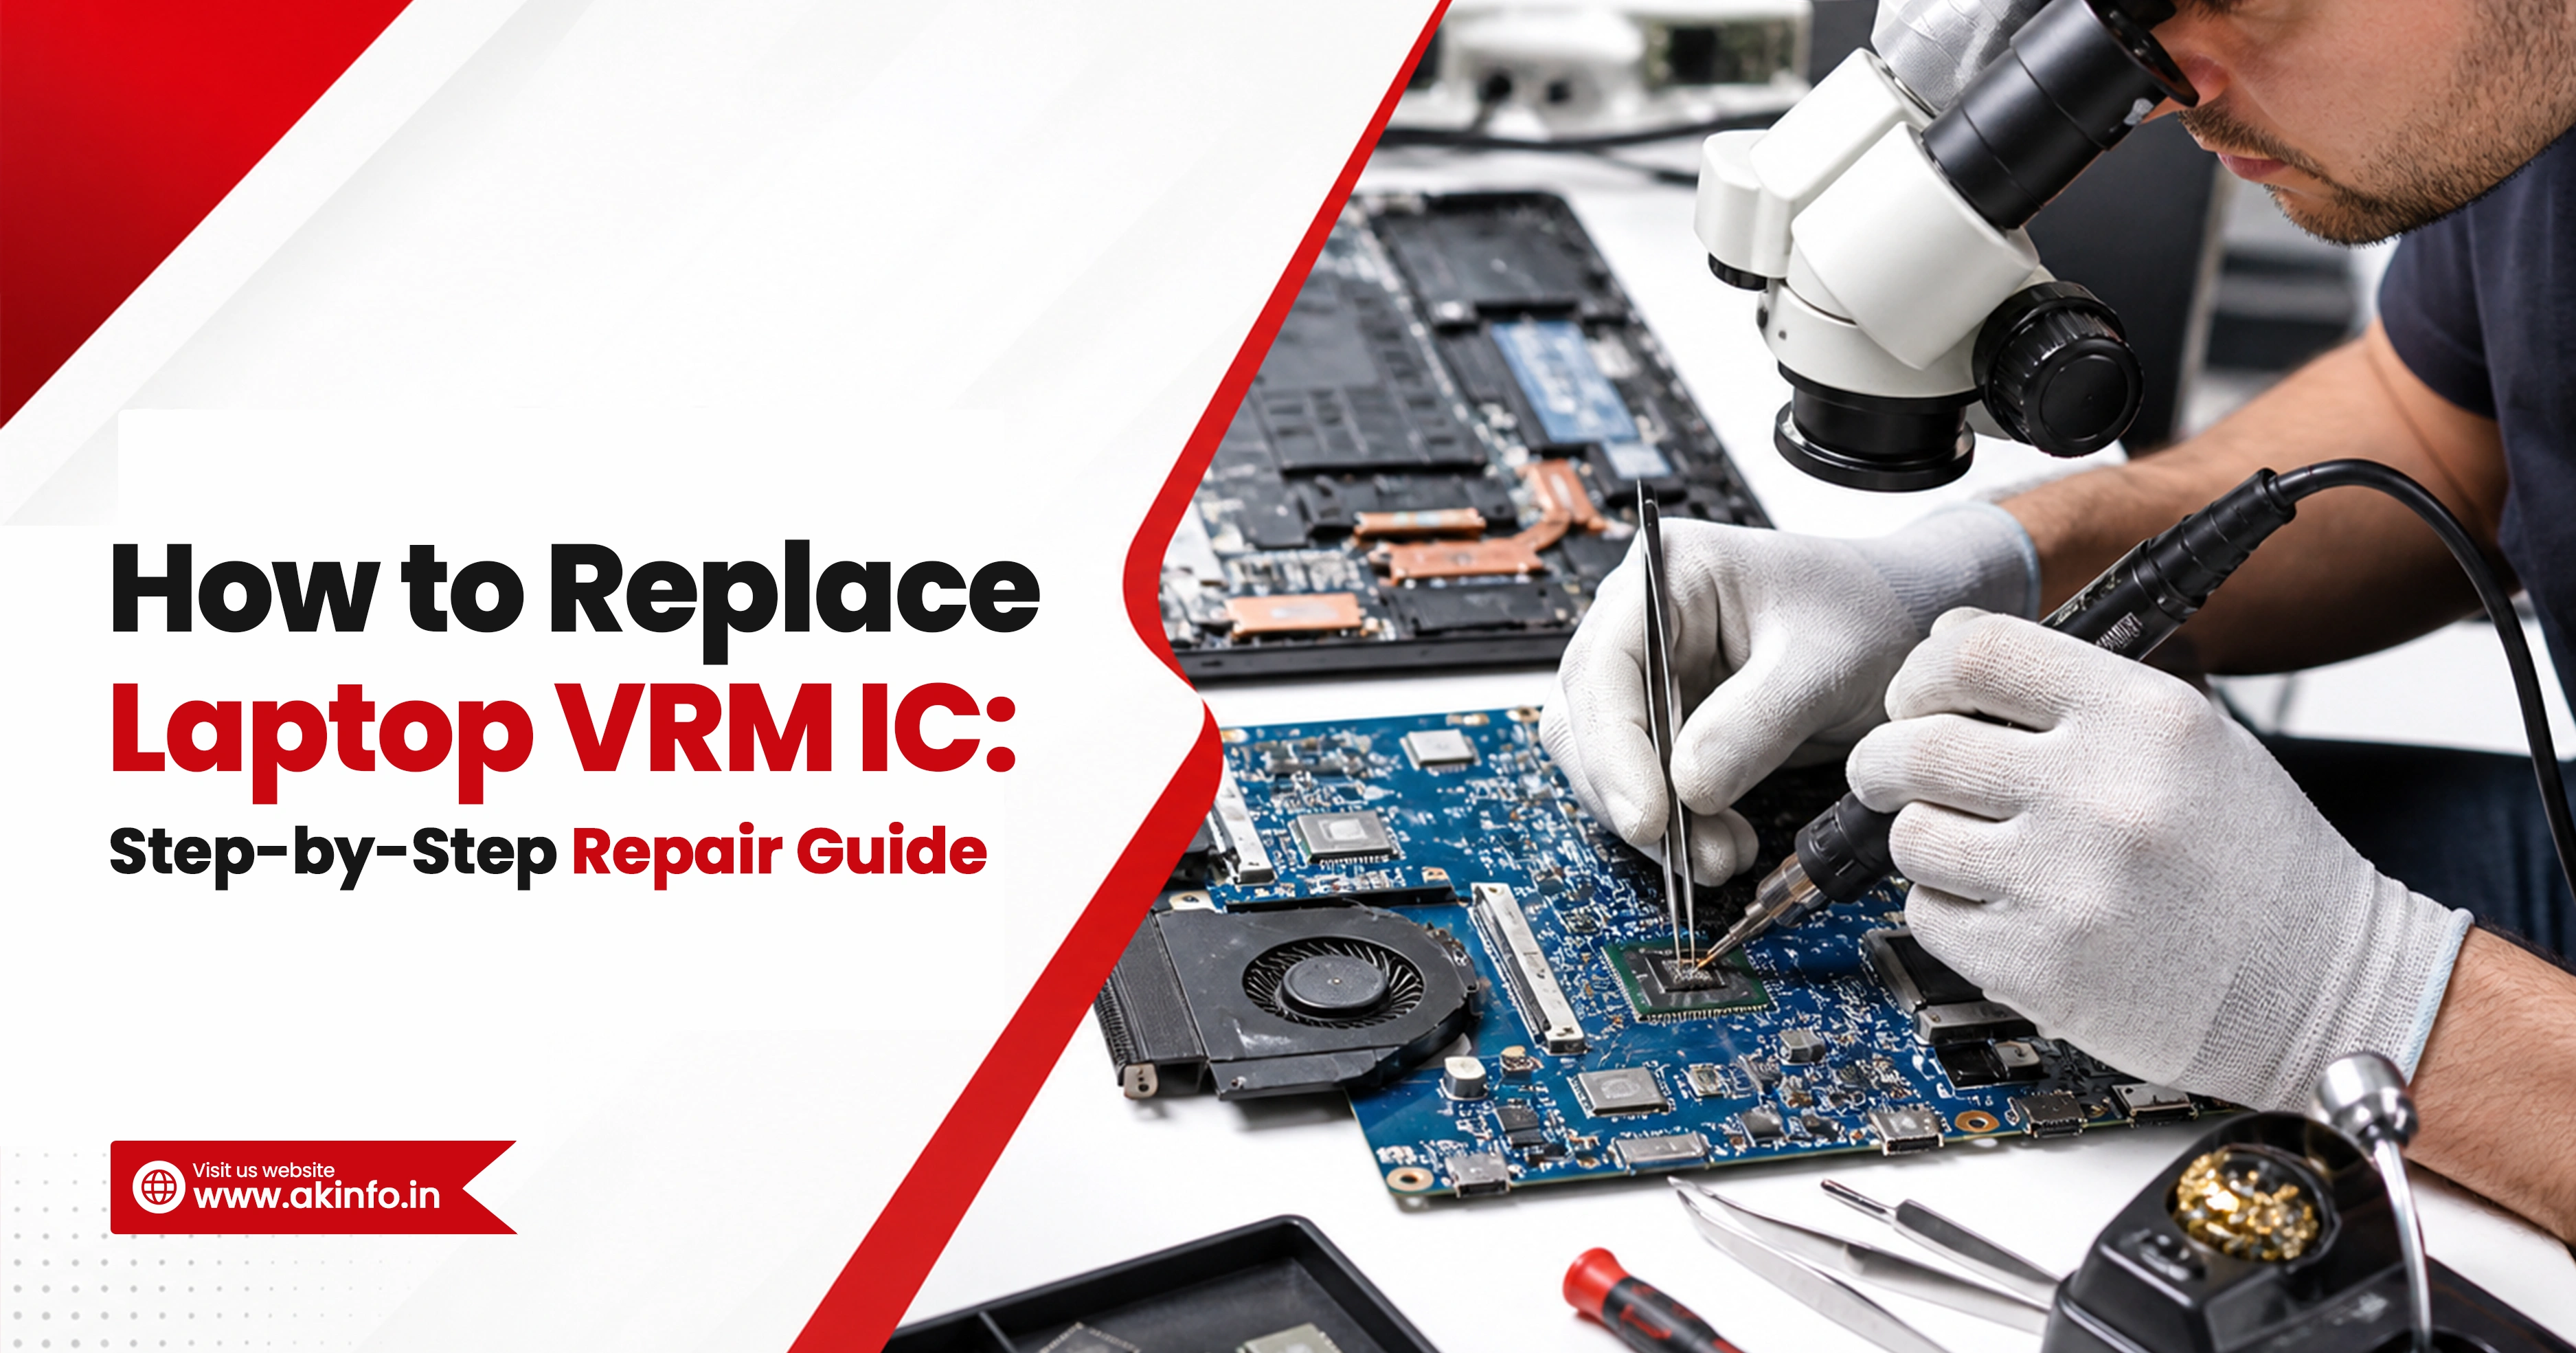
If you want to know how to replace laptop VRM IC, the right approach is: diagnose the rail first, test the MOSFETs and nearby parts, remove the faulty controller carefully, clean the pads, install the correct replacement, and verify the power rail before full testing. A good laptop VRM IC replacement is not just chip swapping. In many cases, the controller is not the only failed part, so section-level testing matters before and after replacement.
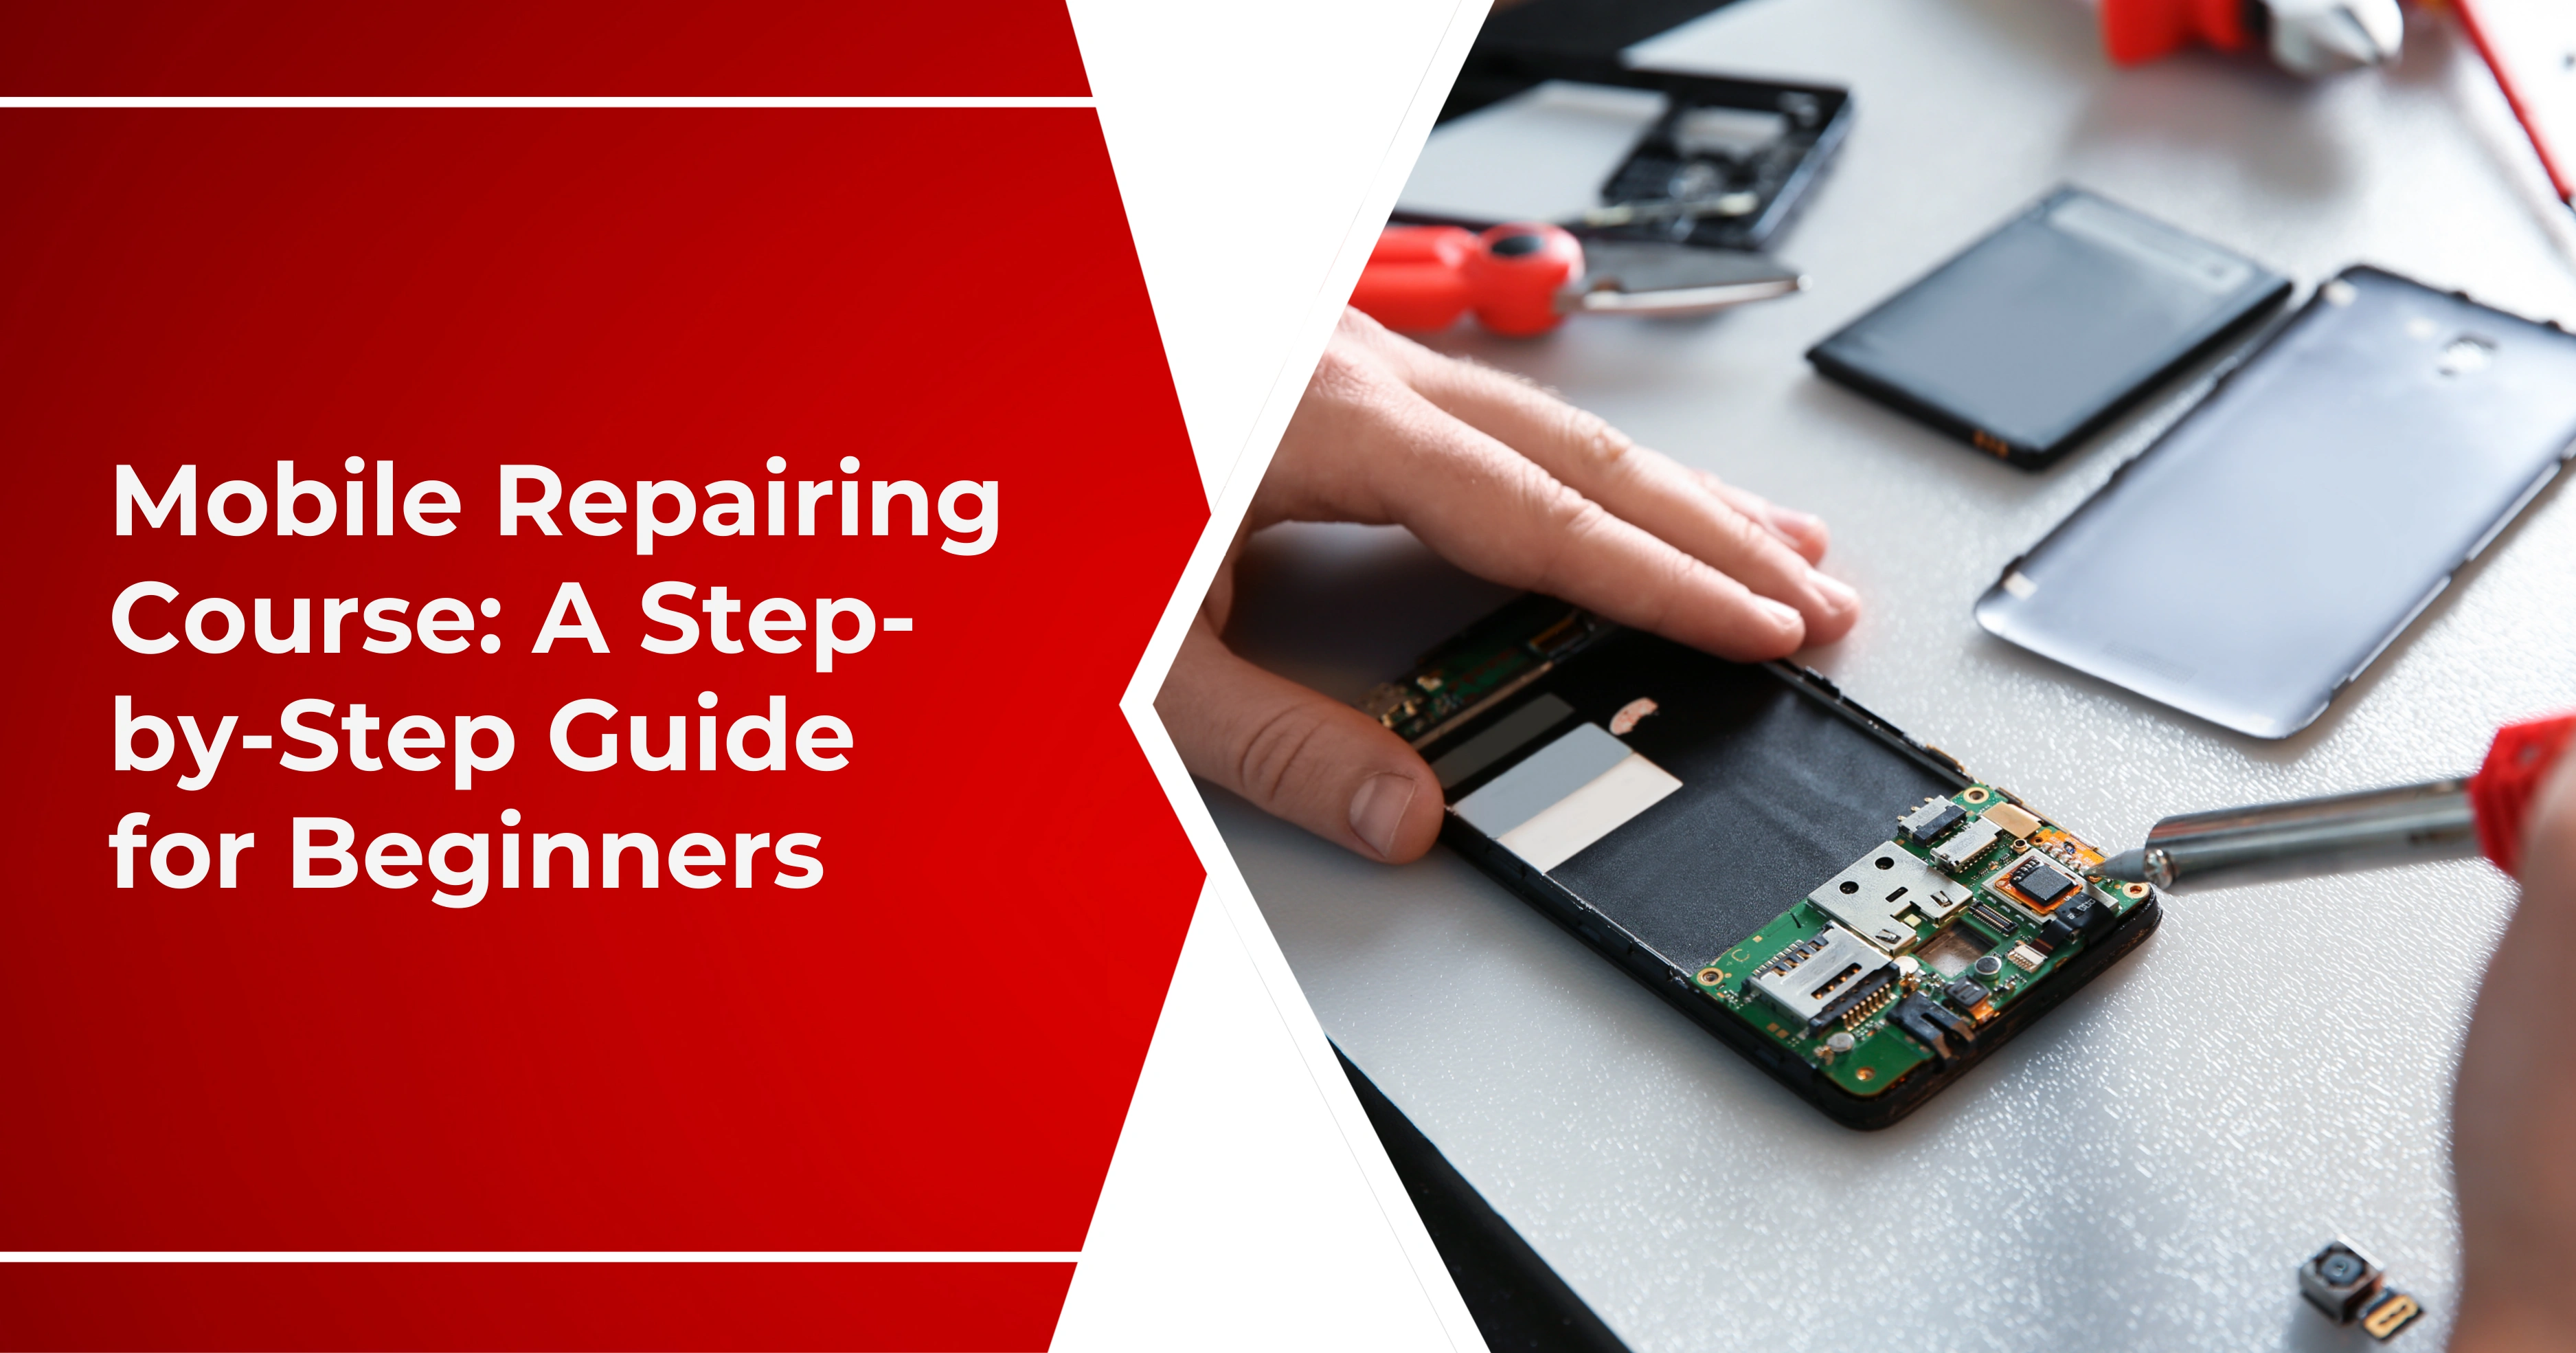
A faulty VRM section can cause no power, no display, auto shutdown, or missing core voltage. This blog explains laptop VRM IC repair in a practical, easy way. You will learn what a VRM IC does, common fault signs, what to diagnose before replacement, the tools required, the full replacement process, common mistakes, and what to check if the board still does not work. That diagnosis-first style matches the repair-focused content that currently performs best for this kind of query.
What Is a Laptop VRM IC?
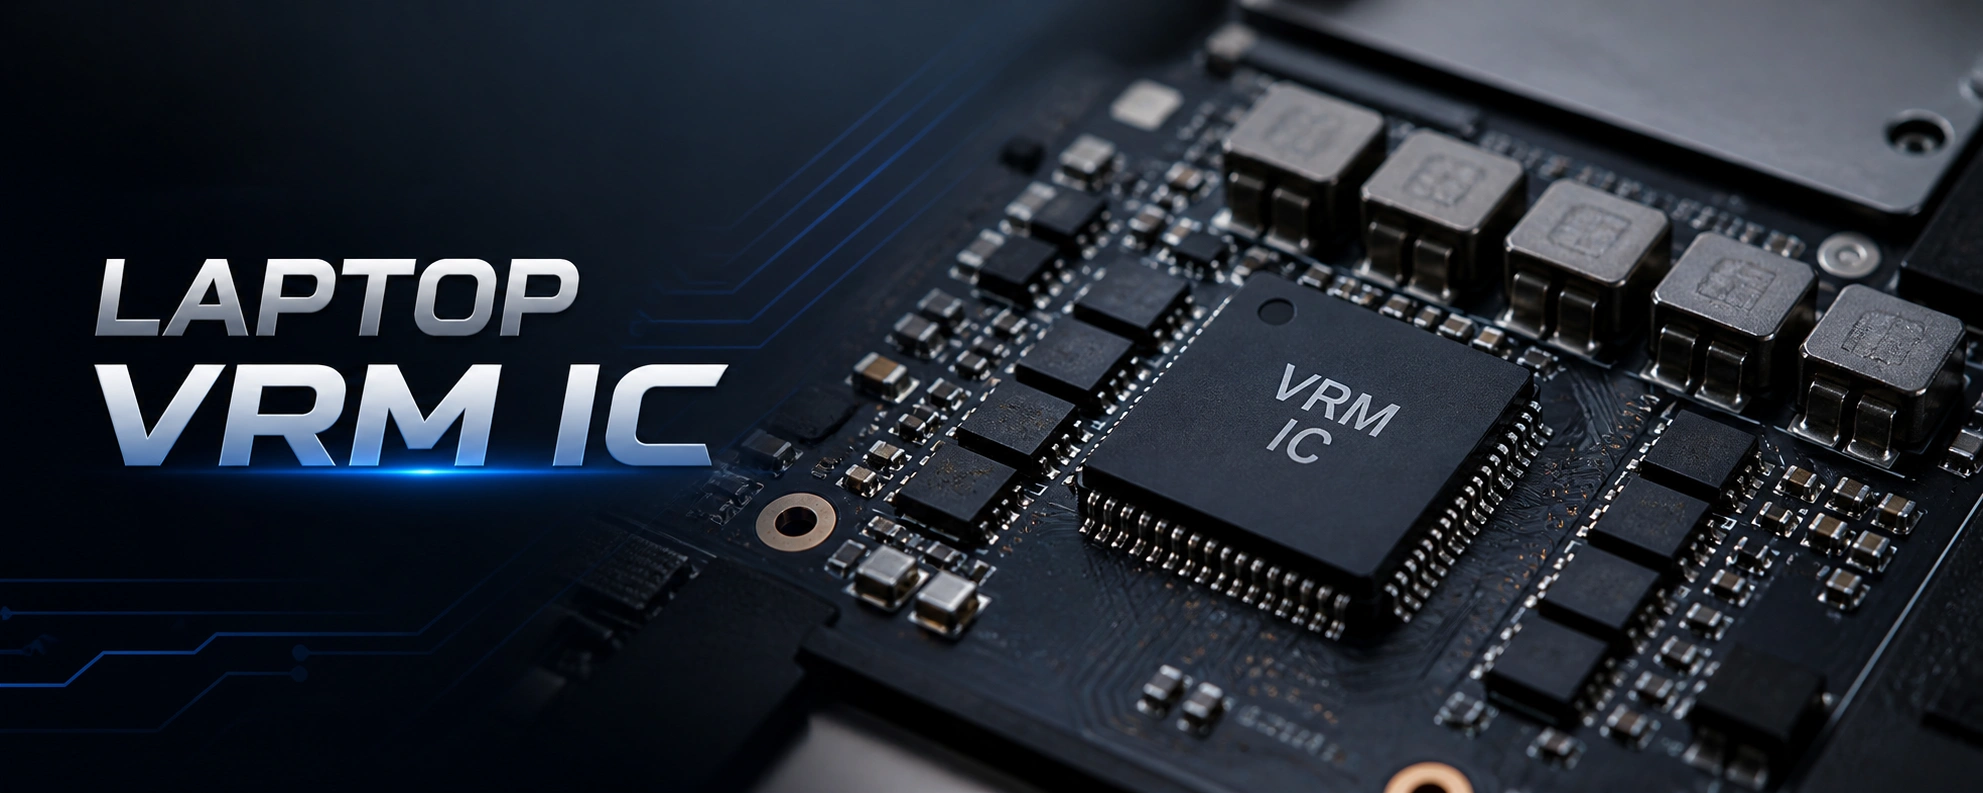
A laptop VRM IC is the controller that manages voltage regulation for an important motherboard rail. It works with MOSFETs, coils, capacitors, and feedback parts to create stable power for sections like CPU or GPU. In simple words, a VRM controller IC laptop motherboard section converts input power into the lower, stable voltage the board needs to run properly.
Common Signs of a Faulty VRM IC in a Laptop
- Laptop fully dead with no power
- Board powers on for a second and shuts off
- Missing CPU core or another important rail
- Short or very low resistance on a rail
- Heating near the VRM section
- Repeated MOSFET failure in the same area
- Fan spin but no display in some core-rail faults
Example: One common workshop case is a laptop that powers on, fan spins, but there is no display. On testing, Vcore is missing while some early rails are present. After checking MOSFETs and confirming the output side is not shorted, the faulty controller is replaced and the core rail comes back. Core-rail recovery patterns like this appear often in live repair discussions and case-style repair guides.
Tools Required for Laptop VRM IC Replacement
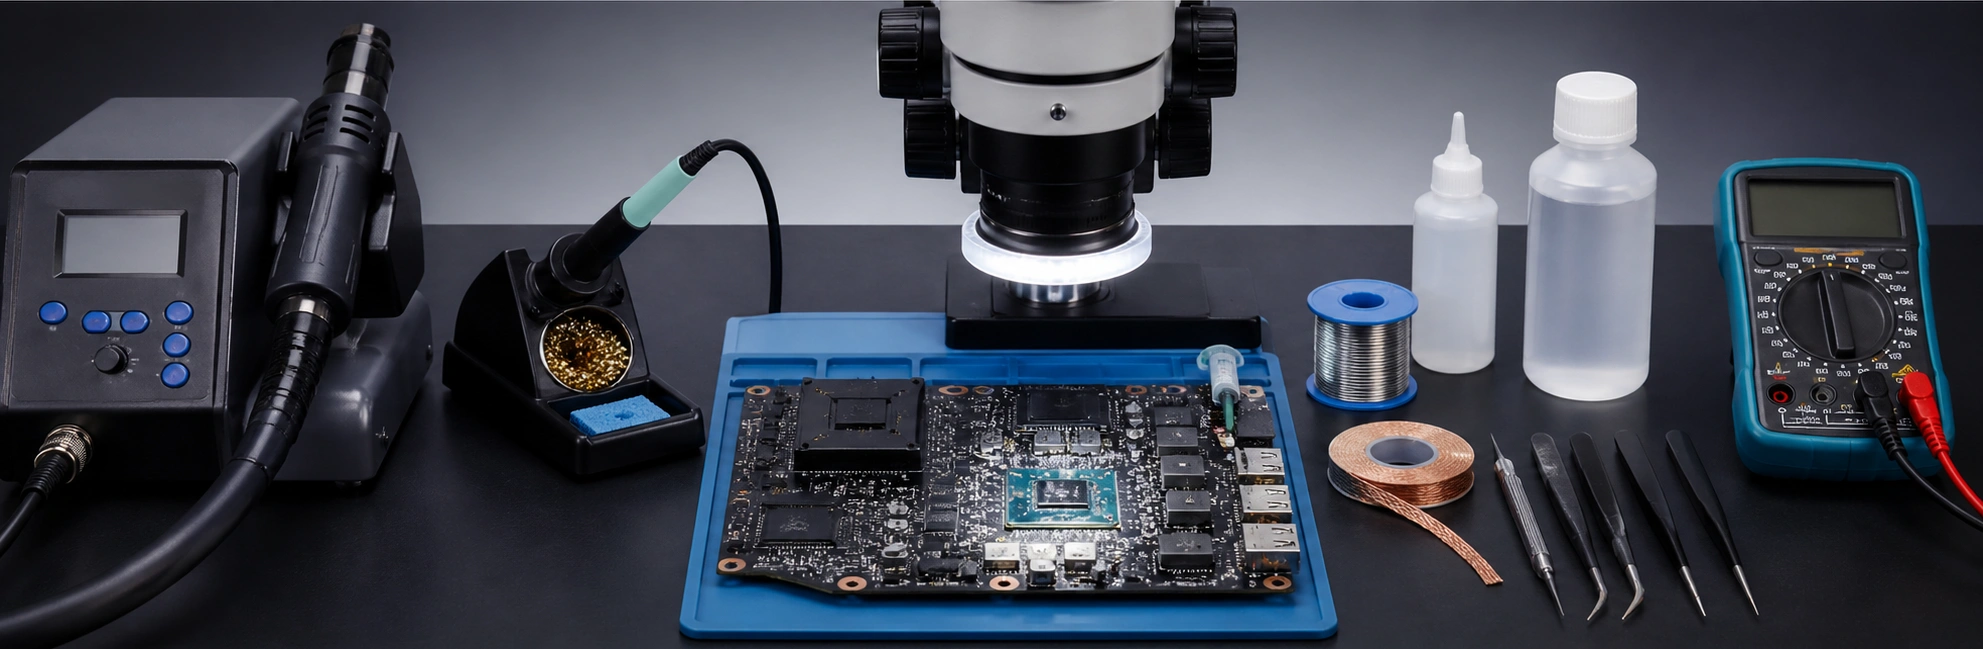
These are standard tools used in board-level motherboard power section repair and precision IC rework. You will usually need:
- A Hot air rework station,
- a Fine-tip soldering iron
- Good quality flux and a Solder wick
- Tweezers,
- Microscope
- Strong magnification
- Multimeter
- IPA or board cleaner,
- Kapton tape or heat shielding to protect other nearby connector parts
- Boardview or schematic, if available
- A correct replacement IC
Important Checks Before Removing the VRM IC
Before lifting the chip, confirm:
- The exact part number on the package,
- The pin 1 orientation.
- Re-check nearby MOSFETs and the rail for shorts.
This matters because in many VRM IC replacement motherboard cases, the controller is not the only failed part, and installing the wrong IC can waste time or damage the board further.
Step-by-Step Process to Replace Laptop VRM IC
This guide is written for learners and technicians who want a safe, practical process. In real laptop motherboard VRM repair, clean diagnosis and careful soldering matter more than speed. Here a simple 10-step process to replace laptop VRM IC.
Step 1: Diagnose the VRM Fault Before Replacing the IC
Before you replace laptop VRM IC, check wether rail is missing, test nearby MOSFETs for shorts, Inspect coil, capacitors, gate resistors, and feedback parts, Measure resistance to ground on input and output rails. Because replacing only the IC may not solve the issue.
Step 2: Disconnect Power and Prepare the Motherboard
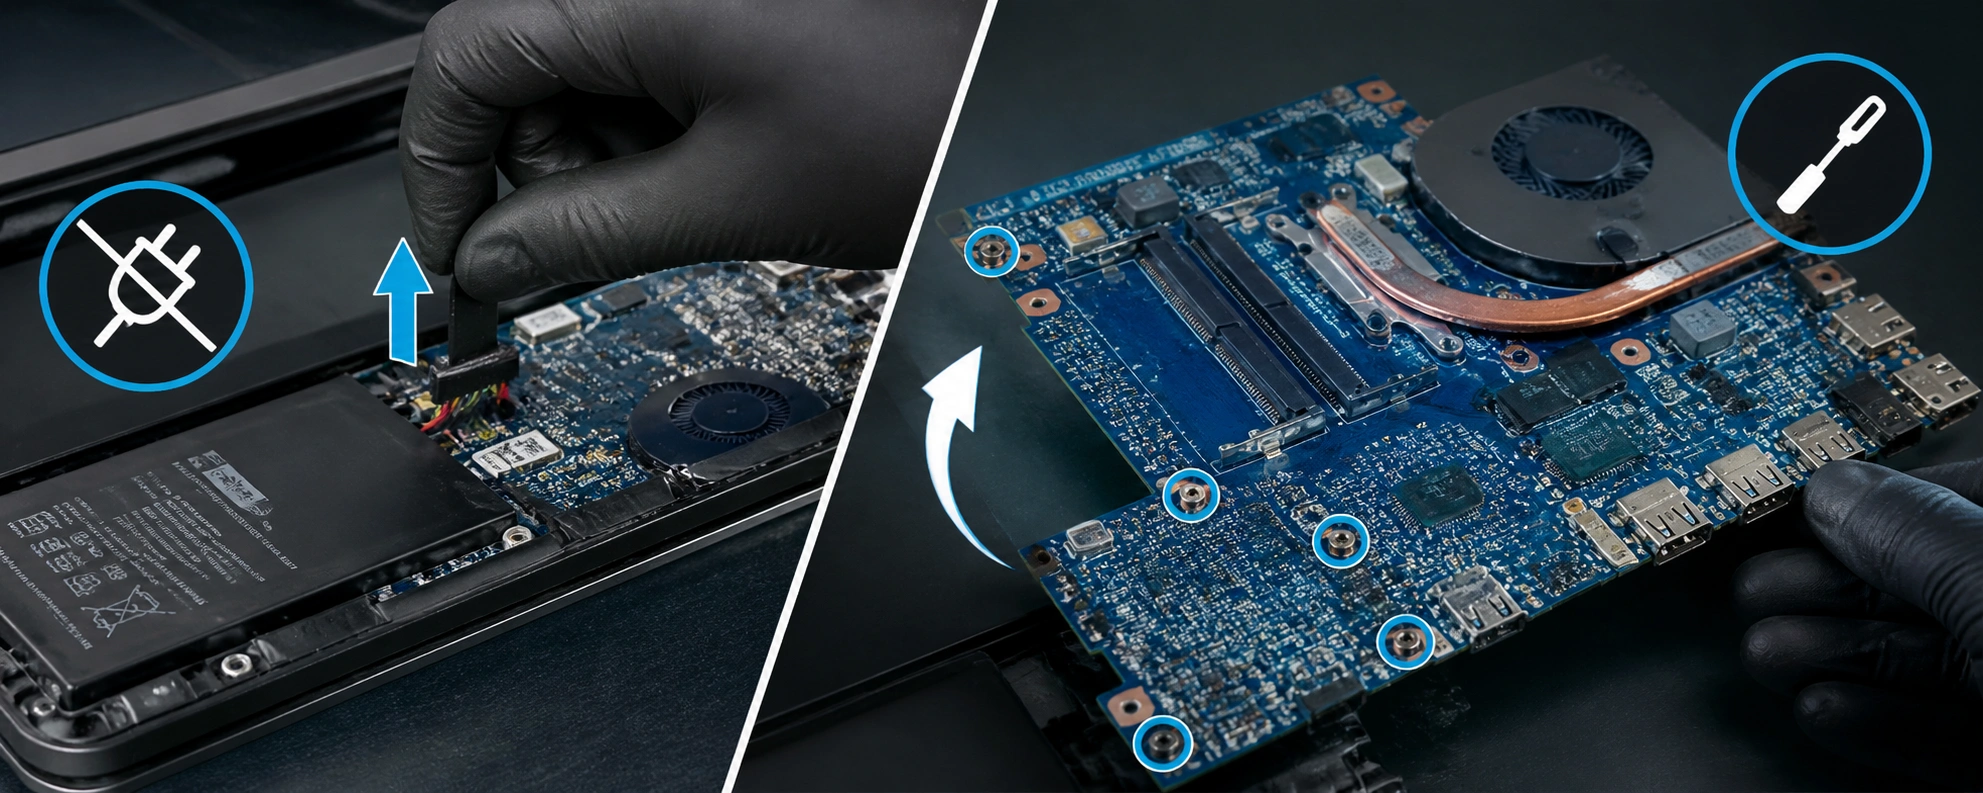
Remove the charger and battery. If needed, take out the board and place it on a stable, heat-safe work surface.
Step 3: Confirm the Faulty Area One More Time
Measure the rail again and re-check surrounding MOSFETs so you do not remove a good controller by mistake.
Step 4: Shield Nearby Components and Apply Flux.
Use Kapton tape or foil to protect nearby connectors and small parts from hot air damage. Apply flux, heat evenly, and lift the IC only after the solder fully releases. Never force it off. Then remove the Old VRM IC.
Step 5: Clean Pads and Inspect the Board
Use wick to clean old solder. Check for lifted pads, burnt traces, or hidden damage before placing the new chip.
Step 6: Place the New VRM IC Correctly
Align pin 1 properly and center the replacement chip carefully on the pads before reflow.
Step 7: Reflow and Inspect the Soldering
Heat evenly and inspect under magnification for bridges, cold joints, or alignment errors.
Step 8: Check for Shorts Before Powering On
Measure resistance or diode values again. Make sure no fresh short is present after soldering.
Step 9: Power On and Verify the VRM Rail
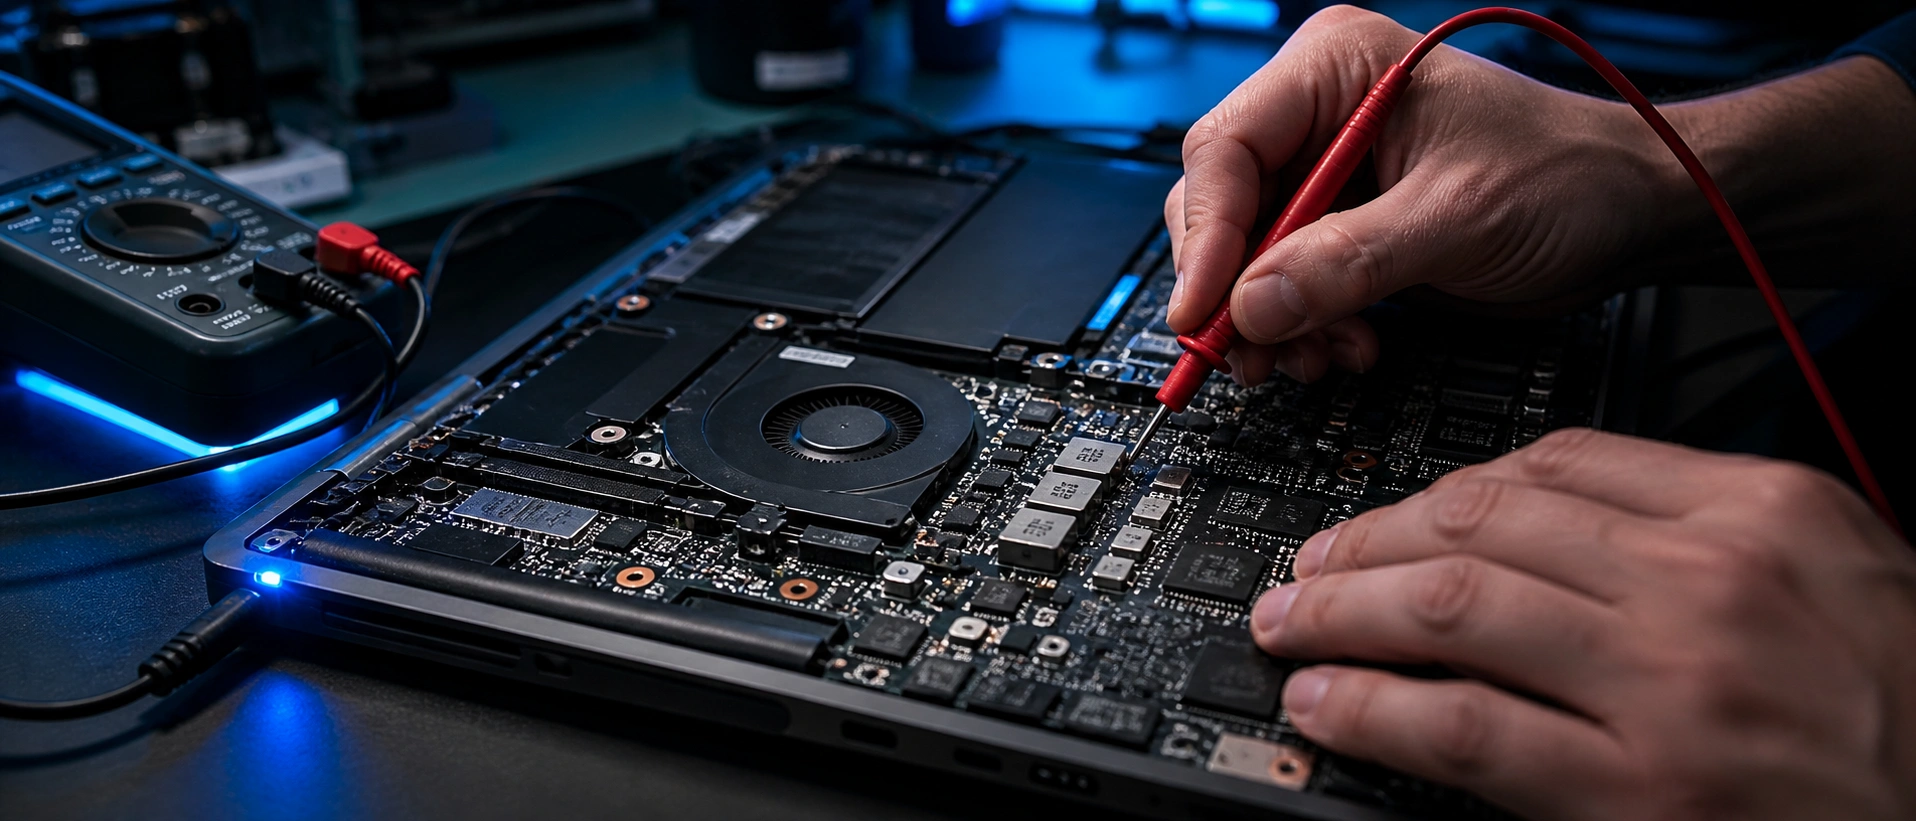
Power the board safely and measure whether the target rail now appears correctly and stays stable.
Step 10: Final Functional Testing
Check board behavior, boot response, and whether the repaired section remains stable in temperature and function.
Safety Tips for Laptop VRM Repair Work
- Work with battery disconnected
- Use ESD-safe handling
- Do not use too much heat
- Never force the IC off the board
- Check for shorts before full power-on
- Use magnification for final inspection
- Keep the board stable during rework
- If unsure, stop and test again before continuing
Common Mistakes to Avoid During VRM IC Replacement
Repair forums frequently show that repeated failure happens when surrounding parts are not tested properly. Avoid these mistakes:
- Replacing the controller without testing MOSFETs
- Ignoring a shorted output rail
- Using the wrong replacement chip
- Overheating the board while fixing IC
- Pulling the IC before solder fully melts the connecting glue
- Missing burnt pads or broken traces while replacing IC
- Skipping post-repair short checks to ensure proper work
- Powering the board too early without confirming rail safety
What to Check If the New VRM IC Still Does Not Work
If the board is still dead after VRM controller replacement laptop work, check the full section again. Because in real repair cases, “new controller but still dead” often points to another fault in the same VRM chain.
- Missing enable signal
- Wrong or incompatible replacement IC
- One or more MOSFETs still bad
- Damaged feedback network
- Burnt gate resistor or driver issue
- Broken trace under or near the IC
- BIOS or EC condition stopping rail sequence
- Rail present but unstable under load
When to Repair the VRM Circuit Instead of Replacing Only the IC
Sometimes full laptop power rail repair is needed instead of swapping one chip. Focus on the whole circuit when you see:
- MOSFET: Shorted high-side or low-side MOSFET
- Current and resister issue: Burnt gate resistor or current-sense part
- Capacitor issue: Damaged output capacitor
- Signal issue: Missing enable signal from another section
- Pading issue: Bad coil connection or lifted pad
- Connectors: Controller looks fine but surrounding parts are not
This is why good technicians treat how to replace laptop VRM IC as section diagnosis, not just IC removal and fitting.
Conclusion
A successful laptop VRM IC replacement starts with correct diagnosis, careful rework, and proper testing after soldering. In addition, following tips for extending your laptop battery life helps maintain consistent power delivery and improves long-term motherboard reliability. If you only change the controller without checking the full power stage, the board may fail again. In many real cases, the better approach is full laptop VRM IC repair with rail testing, MOSFET testing, and detailed inspection of the section. That is what gives a reliable result.
Want to learn real chip-level repair in a practical way? AK Info helps learners understand board diagnosis, power section troubleshooting, and IC-level repair workflows. If you want support with replace laptop VRM IC cases or want to learn professional motherboard repair, connect with the AK Info team for training and guidance.
Call Now