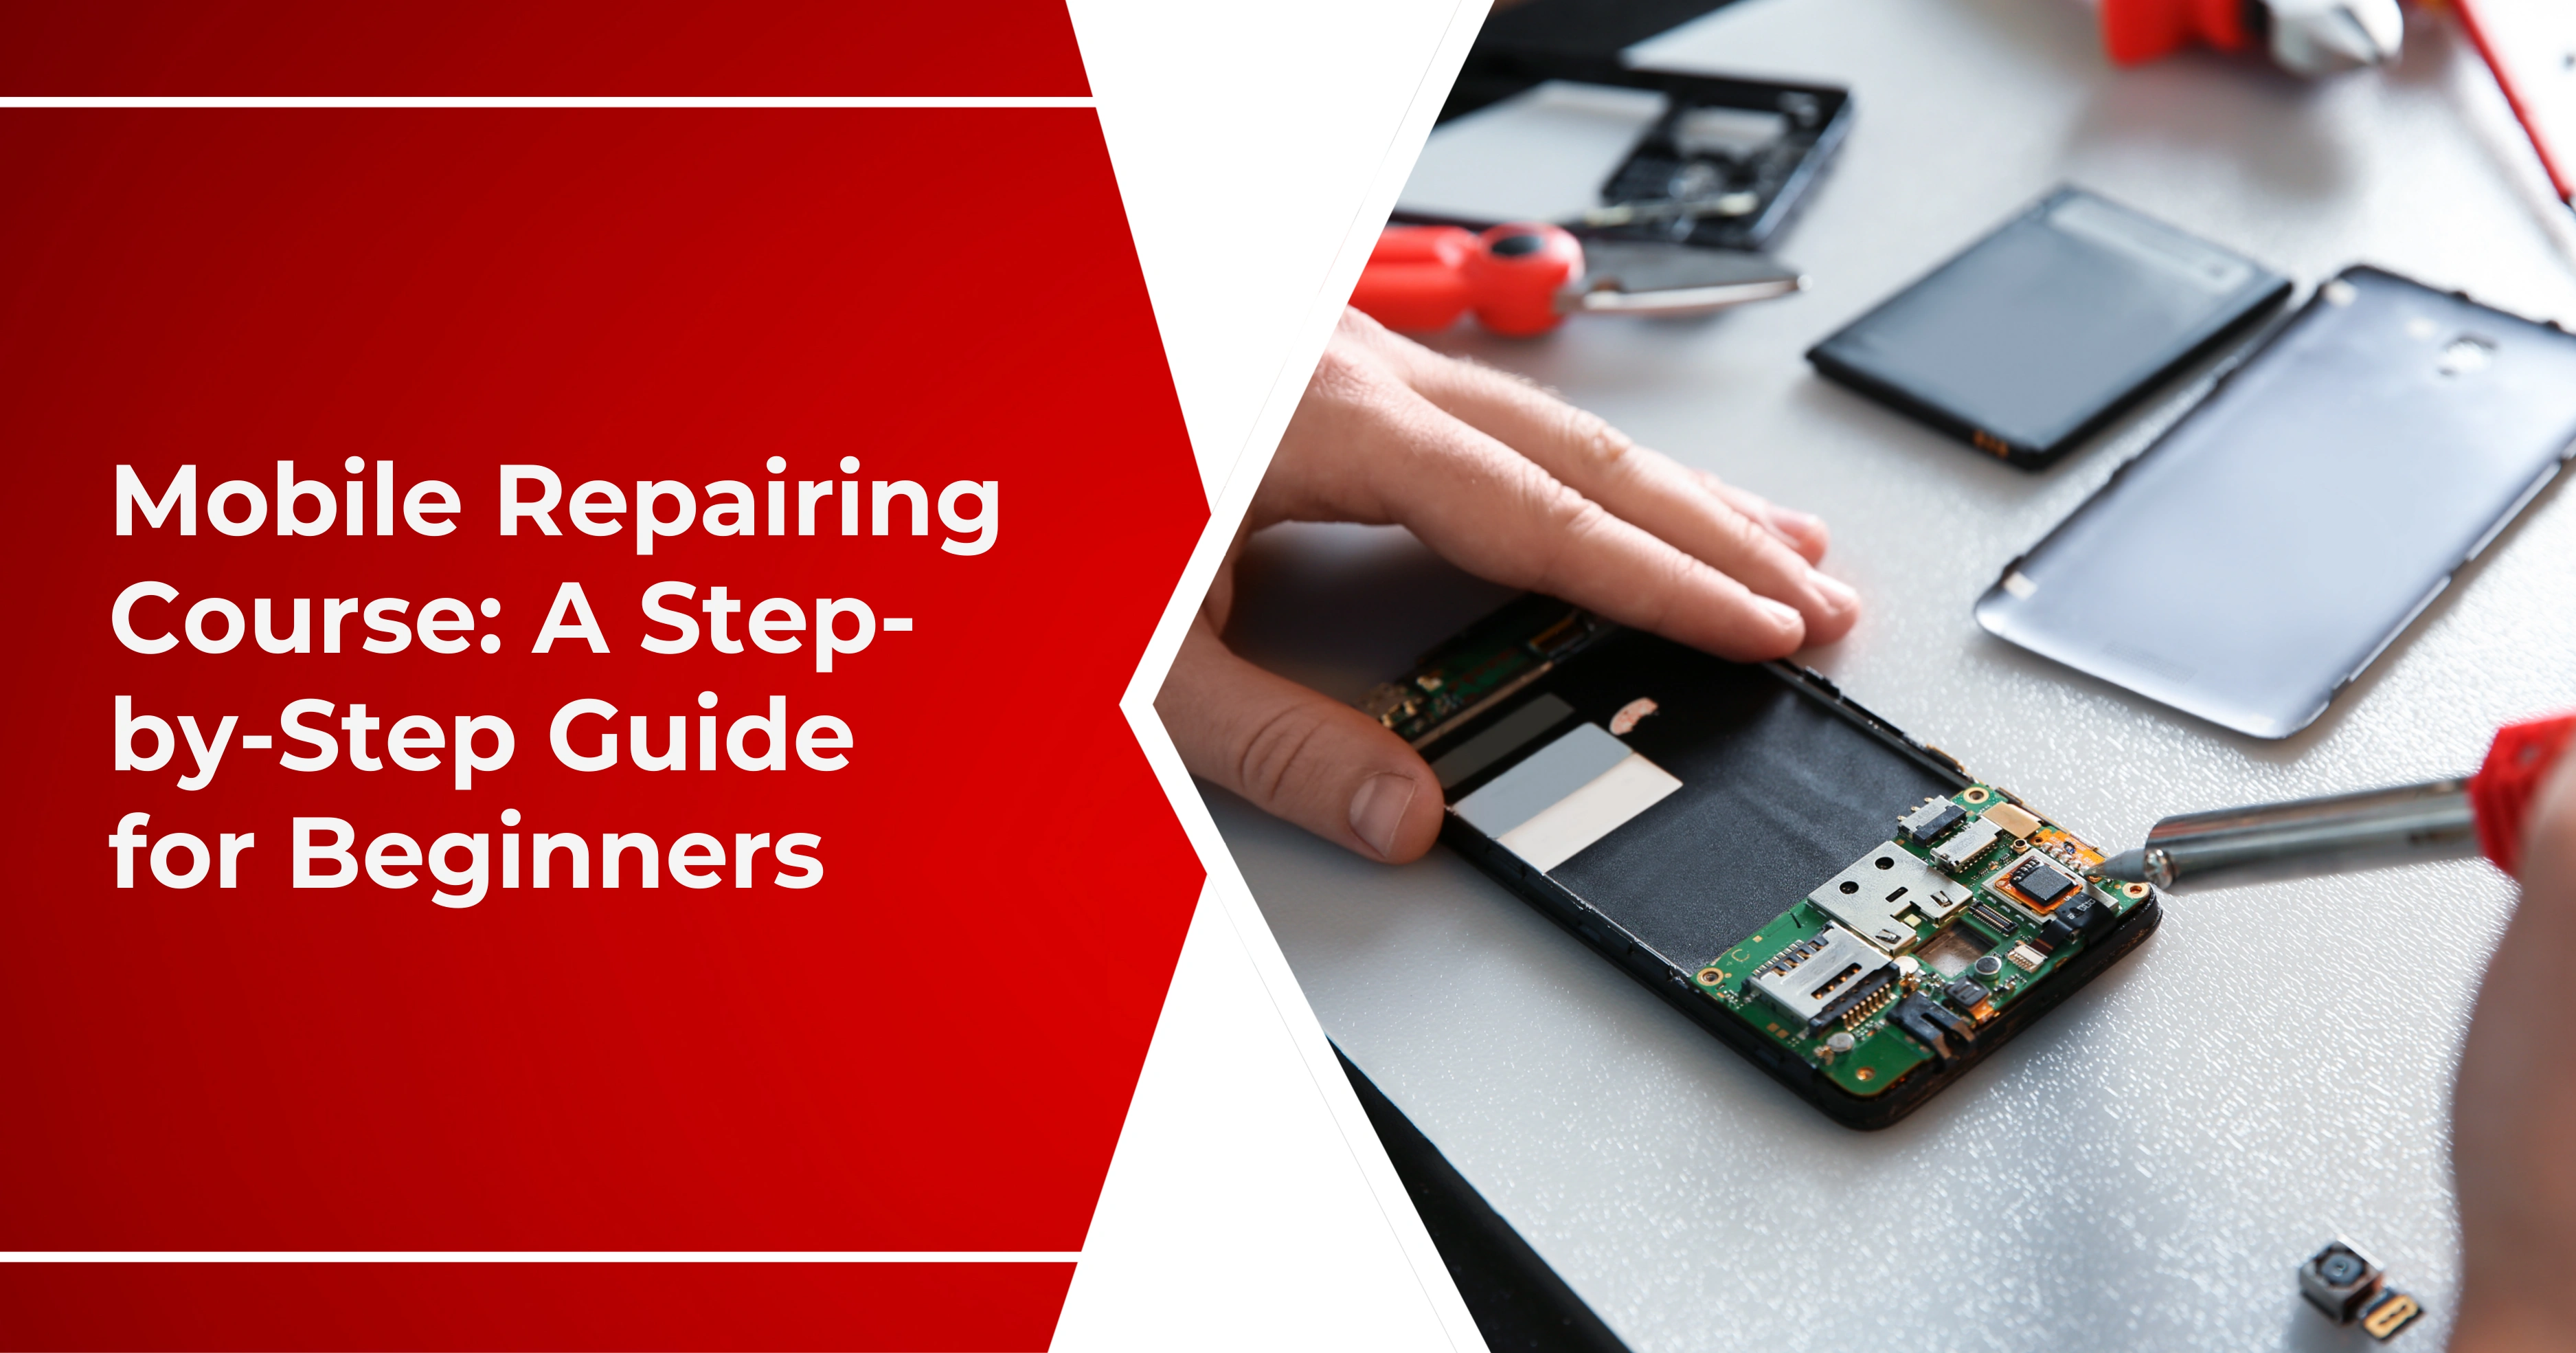
A damaged mobile screen can be hard to use. It might even pose a danger to the user. A cracked screen can come from a simple drop or too much pressure. It harms both how a device looks and how well it works. Many people think you need a repair shop for mobile screen replacement.
But with the right tools and knowledge, you can do it at home without difficulty. In this blog, we will guide you to install a new screen to replace the broken one. You will learn about the tools you need. Follow these steps with attention to detail to fix your phone for a low cost!
Steps to Replace Your Broken Mobile Screen
You need patience and the right tools. An organized workspace is also important to finish this task. The entire process will stay safe and smooth by following these specific steps.
- A flat, sturdy table or desk.
- Good lighting so you can see well and work.
- A soft cloth or mat to prevent scratches on the phone's body.
Step 1: Prepare Your Workspace
Prepare a clean surface before starting the broken screen replacement. A tidy workspace helps you avoid losing small screws or parts. It also gives the phone extra padding to prevent scratches. Strong lighting will enable you to see those tiny parts with clarity while working. Things to get for your workspace:
- Small screwdriver
- Plastic pry tool or guitar pick.
- Suction cup for lifting the screen.
- Tweezers for the cables.
- Adhesive strips or strong glue safe for phones.
- Replacement screen for the correct make.
Step 2: Gather the Necessary Tools and Parts
With any repair, being able to get an earlier start is a potential gift of time. But with emergency repairs, one never gets an opportunity to plan. Using the right repair tools helps prevent damage to your phone during repairs. Replacement screens should always be compatible with your phone model. Essential tools and parts include:
- Make sure to turn off the phone.
- Put the SIM ejector pin in the hole to release the SIM card tray.
- Store the SIM and tray in a secure location.
Step 3: Turn Off Your Phone and Remove the SIM Card
Turning off your phone protects you and the device from electrical issues. Removal of the SIM card would allow for easier or unobstructed opening of the phone. Here are the steps:
- You need to select the correct screwdriver because it prevents screw stripping.
- When applying heat, you should set your hair dryer to low power and direct it for one to two minutes.
- Prevent excessive heat exposure to protect the internal components from damage.
Step 4: Open the Back Cover or Screws
Most smartphones have either screws or sealed backs holding the device together. To access the inside, you need to manage the opening process with caution. The glue seal requires heat application to make it soft enough for removal. Tips for this stage:
- Grab the battery connector that you installed in the phone.
- Insert a plastic tool, and then use it to lift the battery connector.
- Do not use metallic tools near battery terminals.
Step 5: Disconnect the Battery
Disconnecting batteries before repairs is important. It prevents electrical damage while you work. This step helps prevent unplanned short circuits while handling the device's internal parts. How to disconnect safely:
- Position the suction cup on the screen before slowly lifting it.
- Use a plastic pick to move along edges while releasing the adhesive from the surface.
- Use clear tape to cover broken areas so glass splinters will not spread.
Step 6: Remove the Broken Screen
Fixing broken screens needs great patience. This helps prevent more damage to other parts. The safest tools to use here are suction cups and plastic picks. Steps to remove the screen:
- Identify all the display and touch connectors.
- Lift them with your fingers or use tweezers, applying a careful touch.
- Remember the original positions of each cable when you return them to their places.
Step 7: Disconnect the Screen Cables
The screen connects to the motherboard using delicate ribbon cables. These cables need careful handling when you replace the screen. You need to disconnect these cables accurately for the screen replacement. This prevents damage to the phone. Do the procedure of unplugging with care:
- Attach every screen cable to its respective ports.
- Test the display and touch before securing it with a firm grip.
- Place the new screen into the phone frame with precision.
Step 8: Install the New Screen
Installation of a new screen follows the removal of the old one. The right connection and position help to smooth performance. Installation checklist:
- Coat from edge to edge with adhesive strips or glue that are safe for phones.
- Press the edges of the screen with a light touch to create a strong bond during installation.
- Remove the excess adhesive before it solidifies and starts to leak.
Step 9: Secure the Screen
Test your new screen after installation to check its proper operation. Check the screen's stability by observing if it shifts or detaches after some time. A well-fitted screen keeps dust, moisture, and dirt out of the device.
Proper screening prevents the device from sustaining damage during extended use. You should use the appropriate adhesive or glue for this task. The right screen bonding material sticks well and protects the phone's frame. How to properly secure it:
- Reconnect the battery to the motherboard with a firm connection.
- Secure the screws or click the back cover into place.
- After inserting the SIM card, switch on the phone to verify all operations.
Step 10: Reconnect the Battery and Reassemble the Phone
You should put the phone parts back together to make it work again. Reconnect the battery. Then, close the back cover and reinsert the SIM card. Execute this task with the utmost care.
Make sure that you correctly install all parts. A loose screw or connector can hurt performance. Testing the phone post-all assembly yields assurance of successful repair work. Process for completing assembly:
Conclusion
Replacing a shattered smartphone display seems intimidating during the initial stage. You can replace the screen at home. This keeps you safe and stops any damage to your device. It also allows your phone to operate at its full capacity. Always choose a compatible and good-quality replacement screen for the best results. Test the new screen first to make sure it works.
This is important before sealing the display inside. It can save you a lot of time from redoing the entire process. Fixing it yourself can save money. If you're unsure about replacing your phone, take it to a pro. A properly installed screen enhances the appearance. It also brings your phone back to working well. The replacement screen allows your phone to operate without interruptions. You can use it like a new device.
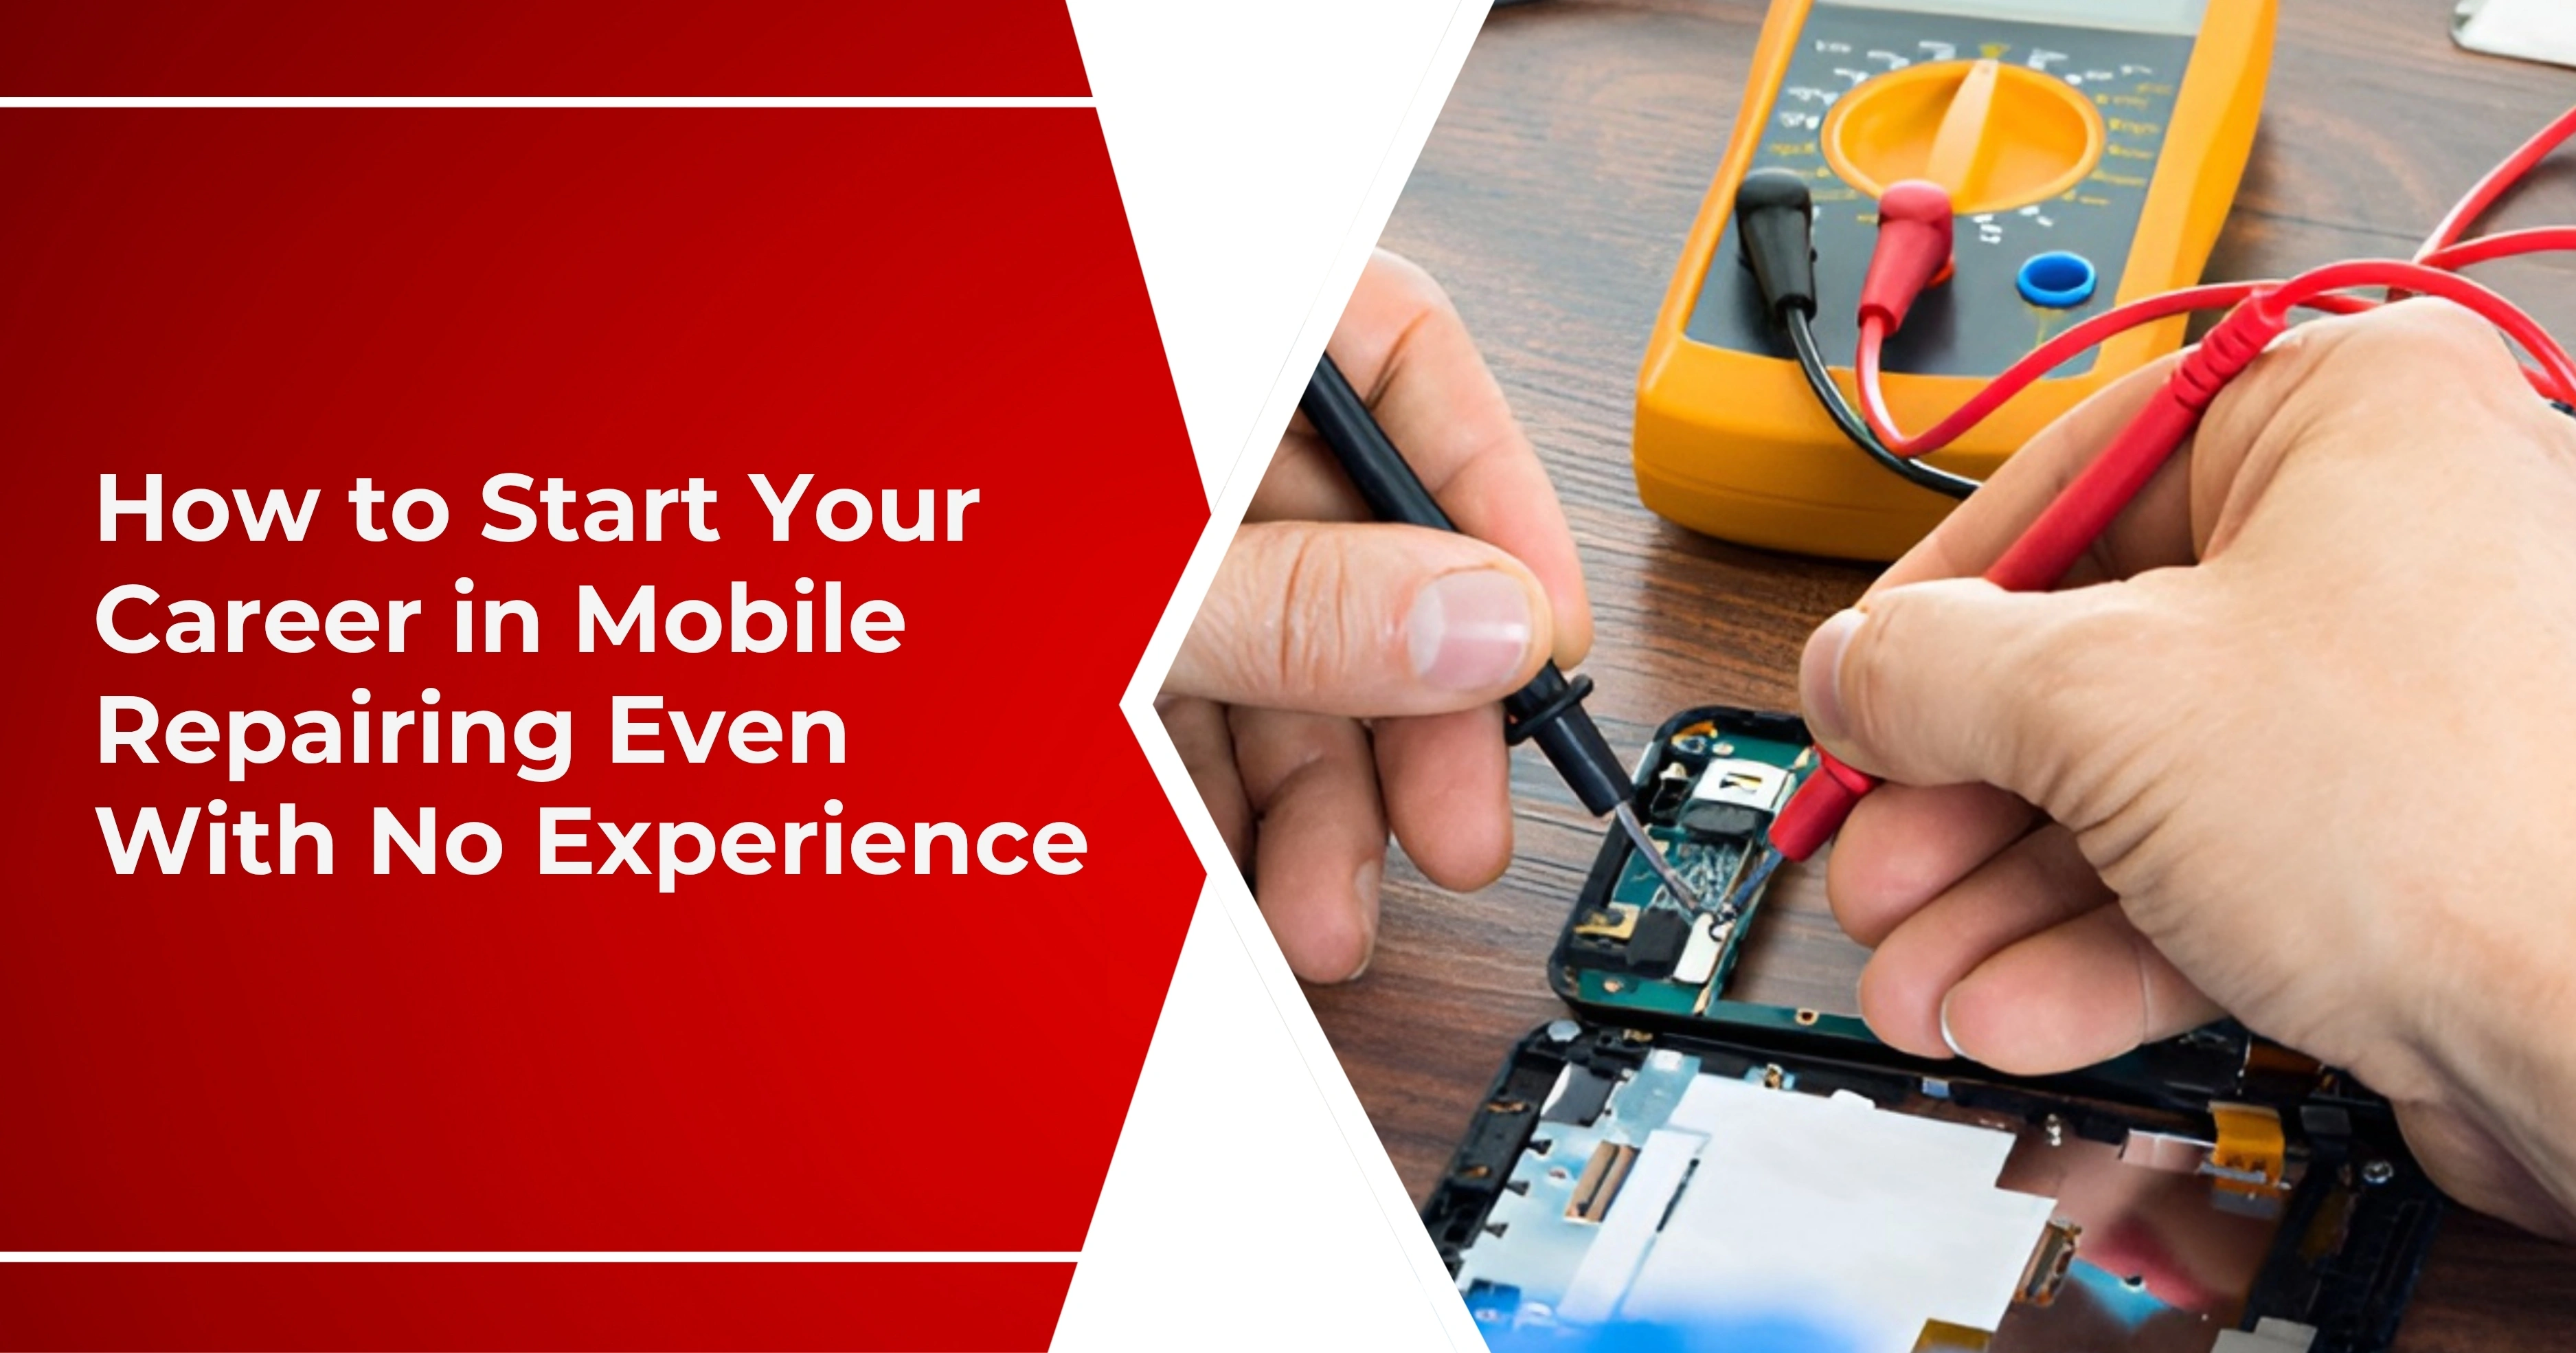
Start Your Career in Mobile Repairing Today!
Join India’s leading mobile repairing institute offering expert-led mobile repairing courses across major cities like Indore, Kolkata, Delhi, Patna, Agra, Karol Bagh, and Gurgaon. We provide hands-on practical training, access to certified faculty and advanced labs, and specialized courses in Patna. Plus, benefit from our 100% job placement support and start building your successful technical career today.
Enquire Now