%20Without%20Replacing%20the%20Full%20Combo.jpg)
Does your smartphone's touchscreen glass crack, but the LCD still works? Do you want to repair your mobile LED?
A mobile LCD (Liquid Crystal Display) is comprised of two layers: 1st is the glass touch panel, and the second is the LED (liquid crystal layer)
As we know, the LCD is used to create images and the digitiser is used to detect touch input. A damaged outer display cover will not necessarily affect the functionality of the display and touch features, but a broken inner display will cause the LCD to be blank, with strange spots or flickering or non-responsiveness.
However, the touchscreen (digitiser) and the LCD are usually joined together as a folder and combo. If you have any minor cracks on the glass and want to replace it without replacing the Combo or Folder, we have a guide.
In the traditional way, when the touchscreen is damaged, people replace both the touch and the display at the same time. This is a bit expensive.
With the right tools, accuracy and experience, it is possible to just replace the touchscreen glass without investing in the combo/folder. Replacing the folder will cost around 1100-1200, whereas replacing the glass will cost you around just 700.
How to Repair Mobile Touchscreen/Glass without a Folder/Combo
Here is the detailed guide on who can change the touch/glass of a smartphone without investing in a folder.
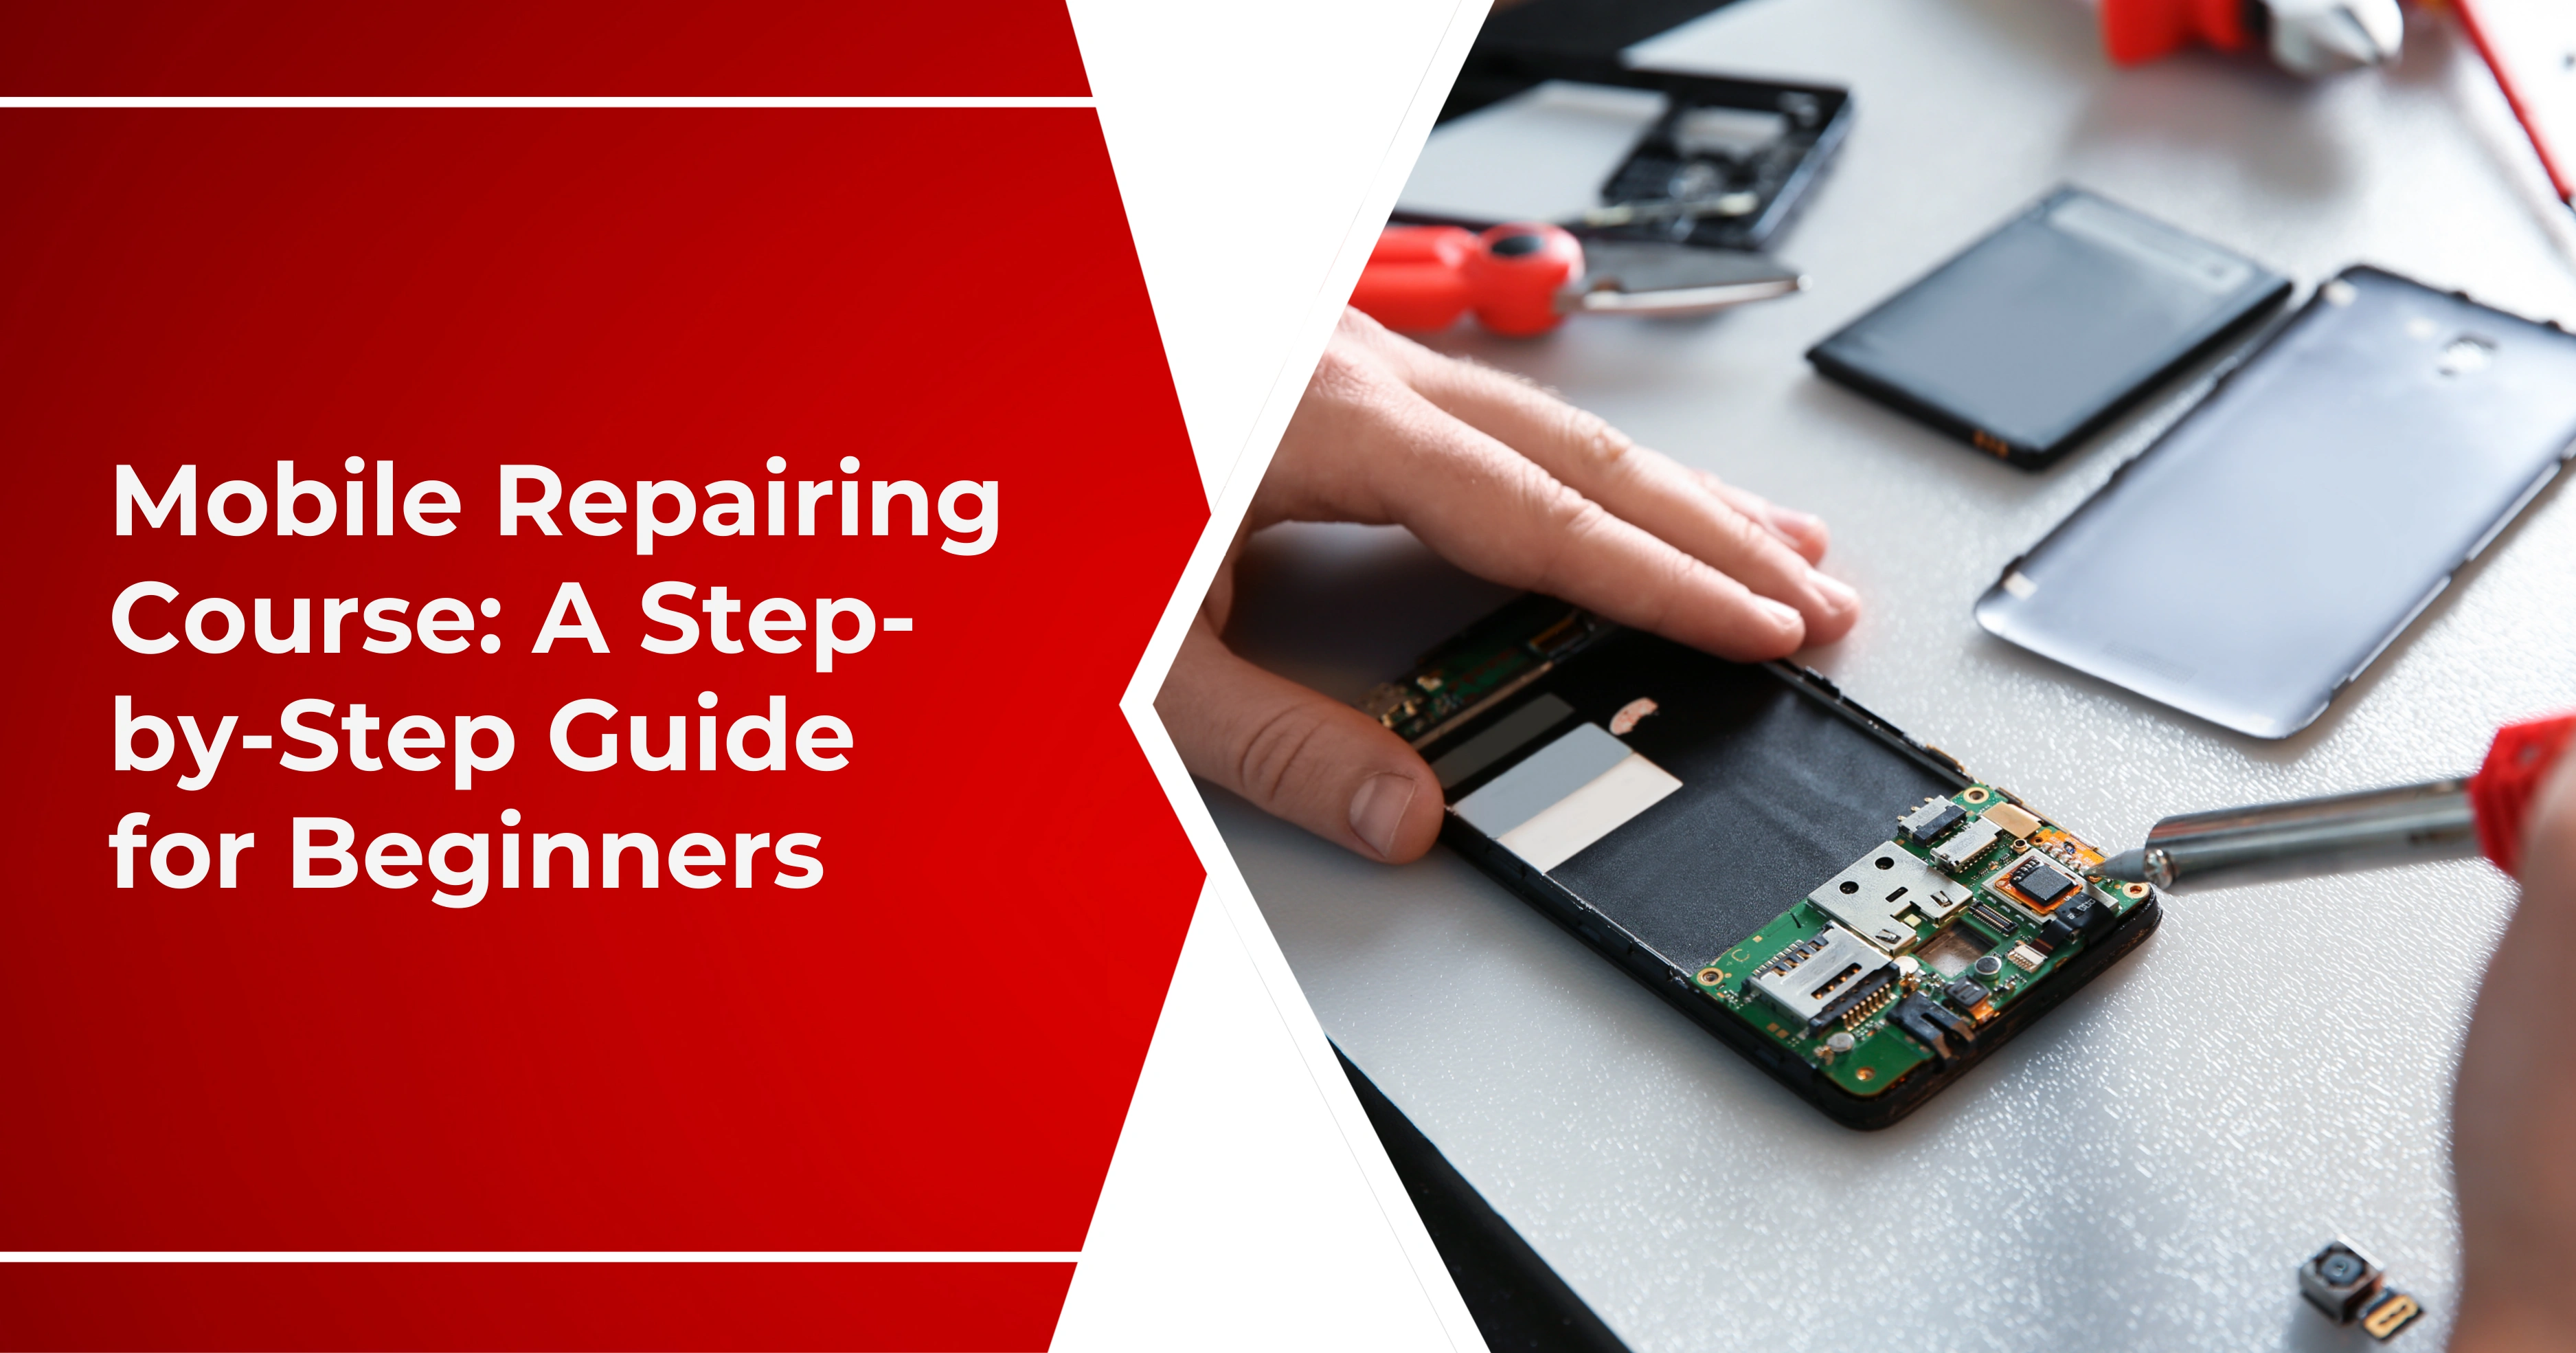
Step 1: Open the Mobile Phone Carefully
The initial step is to open the mobile phone very carefully. It requires the back panel to be removed and the screw. Screws that hold the body parts, screwed out carefully. With the help of a plastic opening stick or a thin blade, separate the back cover without breaking it. Don't be rough and quick. After the battery has been opened, it must be disconnected to avoid a short circuit.
Step 2: Screen Assembly is Removed
Then the next step would involve the screen unit in which the touch and its LCD would be removed. In order to insert the motherboard, you have to identify the flex cables connecting the display and the motherboard. Loosen up these cables with tweezers or with fingers. Other phones can be lined with metal plates over or brackets guarding over the connectors-dislodge these also. After the disconnection, carefully pull out the screen unit from the phone body.
Step 3: Screen Heating on a Separator Machine
Here is the tricky part—we disengage the shattered touch and the functioning LCD. His installation of the screen unit will be on a separator machine or a heat plate. Heat it up to 90–100°C. Heat it for a few minutes. This action is done in order to loosen the glue used in attaching the touch glass to the LCD.
If you don't have a machine, you can use a controlled hot air gun, but ensure you do not overheat or burn the LCD. For more general tips on mobile phone repair, you might find our article on Mobile Phone Repair Tips helpful.
Step 4: Separation of the Touch and the LCD using the Wire
After heating the screen, a thin cutting wire or separator tool can be used to separate the touch screen that has broken because of the LCD. Begin at one corner, and slipping the wire under the two layers, make a square.
Do this very carefully, though, as it is also easy to snap the working LCD at the wrong time. For detailed guidance on fixing broken screens, refer to our guide on Broken Mobile Phone Screen Repair.
Step 5: Clean the LCD Surface Properly
Once the touch is removed, the LCD will be covered by glue and glass itself. Wipe in a cleaning solution, e.g., Falcon solution or IPA Alcohol (Isopropyl Alcohol), and dip the LCD surface. Clean it up with a lint-free cloth or a microfiber pad. All the dust, glue, and scratches must be removed, and the LCD should be crystal clear. This helps in effective bonding in the future.
Step 6: OCA Glue Film Glue Anywhere
Then, put a coating of OCA (Optically Clear Adhesive) onto the cleaned LCD. The special kind of glue sheet is known as OCA, used to bond the new touch to the LCD. Remove the protective cover and apply it to the LCD in a uniform manner.
The air bubbles or misalignment should be avoided. Do the same with the OCA sheet in case it is larger than required; cut it to the required size using a blade.
Step 7: Power Disconnect and Battery Disconnect Leads Shall be Outdoor Electrics
After applying the glue, place the new touch glass and attempt to align it properly with the LCD. Carefully spread it evenly on top, without allowing any air to get trapped between the two ends. Then, press it lightly to make it adhere.
The work needs attention and precision, hands, and directions to place it perfectly, as a touch should operate after installation. For professionals looking to equip their workspace, explore our recommendations for Mobile Repair Tools.
Step 8: Bubble-Removal or Laminating Machine
Once the new touch is applied, it is possible to put the LCD unit into a bubble-removal machine or a lamination chamber. This machine is used to remove air bubbles between the touch and LCD by the use of pressure and vacuum. The procedure is about 10–15 minutes. You do not want to do that since it can leave behind bubbles, which will result in touch issues, and the repair will not look good.
Step 9: Reassemble the Phone and Test
Once the bonding is complete, inspect the unit. If it looks clear and bubble-free, reconnect it to the phone’s motherboard. Fit everything back into place and turn the phone on. Test the touchscreen at multiple points to ensure it responds correctly. If all works well, screw the phone back together and replace the back cover.
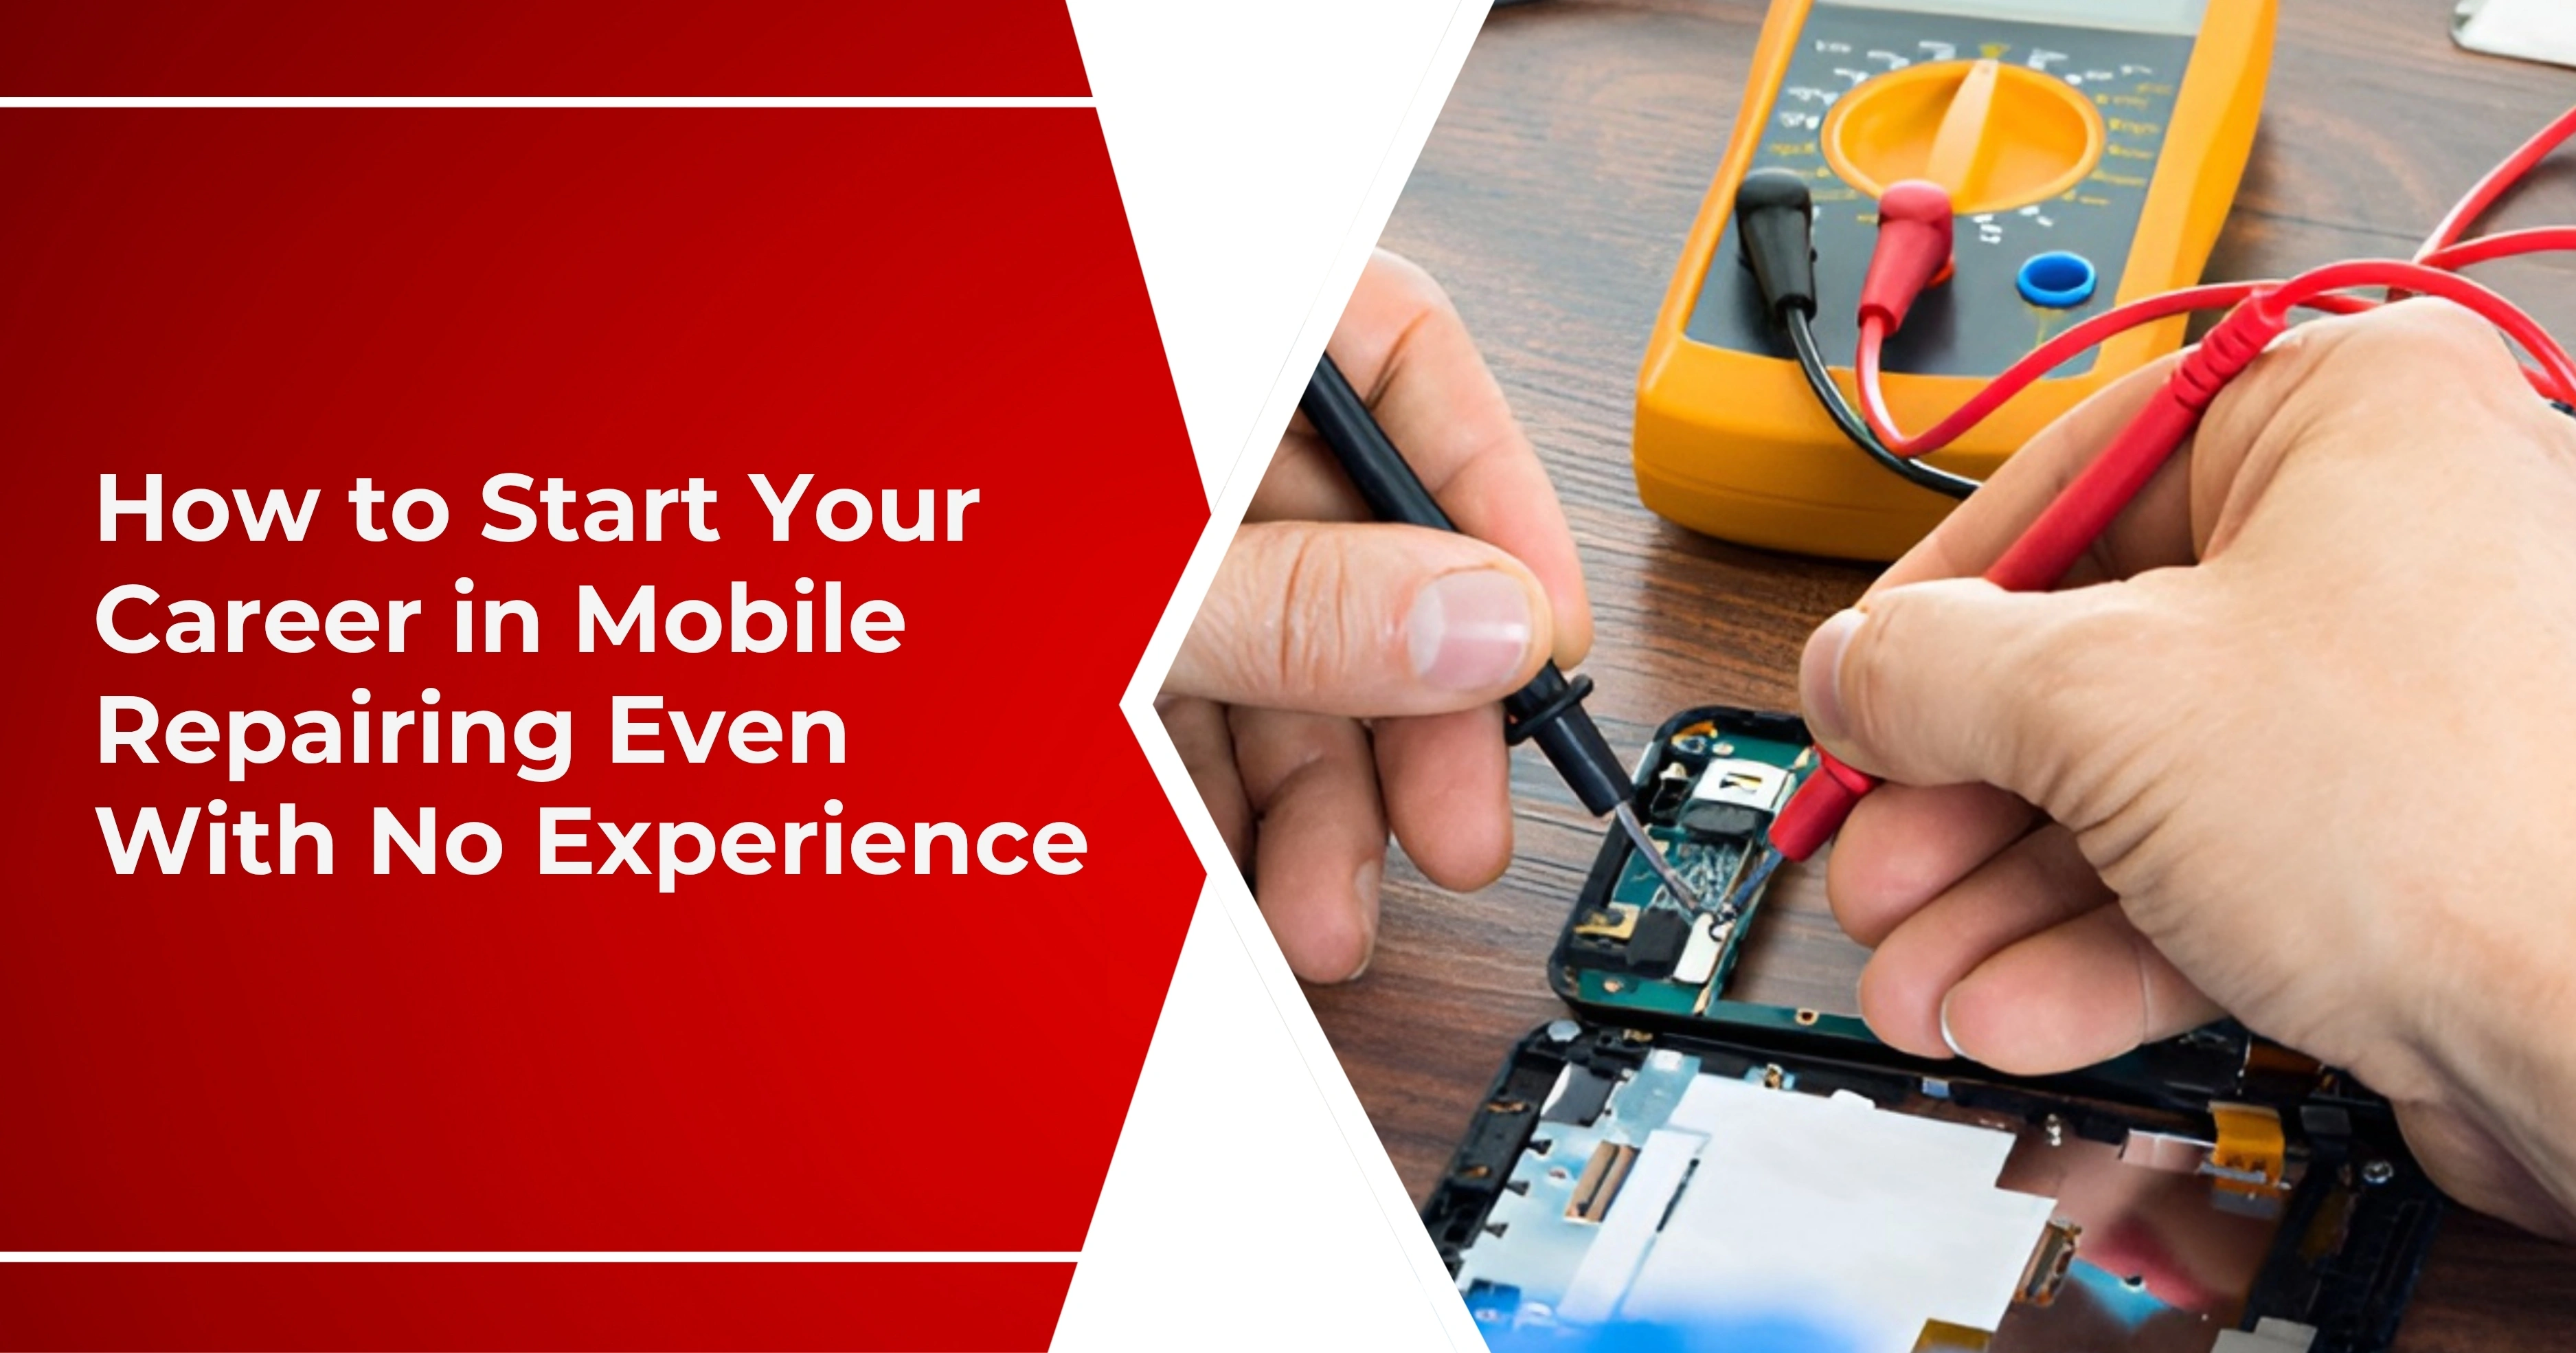
Test and Final Assembly
To test the responsiveness of the touch on the phone, power on the phone and press the screen all around the phone. Make sure that all the zones are functioning well without any dead zones, any lag or jitter. In case it passes, discharge the power source, clean the frame, replace the screws, SIM tray, and the case. Your final result is just like new.
-
The possibility of damaging the LCD: In case you overheat the display or place high pressure on it, the screen can shatter and be destroyed. -
Repeats rarely succeed: Only about 1 in 5 such unproven efforts work. There is no room to be tried again. -
Incomplete cleaning brings bubbles: Thorough cleaning of adhesives and dust must inevitably be done to achieve a clean bond and bubble-free finished product. -
Flex integrity: Any flex or strain on the connector ribbons can lead to later touch glitches. Adhering to Safety Tips for Mobile Repair is crucial to avoid these issues.
Common Risks and Why it is Tricky
Conclusion
IReplacing just the touchscreen (digitiser) while preserving the LCD is possible — but this should be undertaken with excellent-quality tools and experience. If you hesitate or lack access to a separator/vacuum machine, go with the replacement of the full assembly. It is safer, more permanent, and makes you feel comfortable.
Ready to Master Mobile Repair? Join AK Info Today!
Are you fascinated by mobile repair and eager to learn these skills professionally? AK Info offers comprehensive mobile repairing courses designed to equip you with the knowledge and practical experience needed to excel in this growing industry.
Whether you're a beginner or looking to enhance your existing skills, our expert-led training covers everything from basic troubleshooting to advanced chip-level repairs.
Don't miss out on the opportunity to build a rewarding career. Choose the Right Mobile Repairing Course for You and Enrol with AK Info today! Call us at +91 96400 57000 or click on WhatsApp on the shared button to learn more.
Enquire Now