.png)
Smartphones are the most important tools in today's digital age, used for communication, entertainment, and productivity. Protecting these valuable devices from scratches and other forms of damage is a great way to ensure their long-term functionality. Many users use glass screen protectors, which serve a very vital purpose. However, at some point, you might want to remove or replace your phone's screen protector. This guide will help you do so safely and effectively.
- Damage: Over time, scratches, cracks, or chips can compromise the effectiveness of your screen protectors. Thus, they need to be replaced in order that your phone's screen does not get damaged.
- Air Bubbles: Unsightly air bubbles trapped under the protector may result from improper installation. These bubbles are aesthetically unpleasing, but they can interfere with your touch sensitivity and visibility as well.
- Accumulation of Dirt and Grime: Dust and oils tend to build up easily on screen protectors; it is usually very challenging to clean them completely. If your protector has now become unsightly or you can no longer see clearly, it is time for change.
- Upgrading Your Protector: Technology changes, and new screen protectors will be available with advanced features. Whether you prefer to have a matte finish which reduces glare or tempered glass for better impact resistance, upgradation can make your gadget more usable.
- Aesthetic Reasons: If your screen protector is scratched or simply discolored, you should replace it and refresh the outlook of your device. Installing a new protector can have your phone's display once again looking crystal clear with a sleek appearance.
- Enhanced Protection: Newer screens may contain anti-blue light or fingerprint-coated technology can be introduced to the models. You will also get the chance to install updated features for an advanced experience.
Why Remove or Replace Your Screen Protector?
Removing or replacing your screen protector is a decision made by many users at some point. Here are some of the compelling reasons to do so:
Tools Needed to Remove or Replace Screen Protector
Before starting the removal and replacement, make sure to gather these essential cell phone repair tools for a successful process.
- Plastic Card or Spudger: To gently lift the edge of the screen protector.
- Microfiber Cloth: To clean your phone's screen after cleaning.
- Adhesive Remover (Optional): For Stubborn Protectors.
- Good quality New Glass Screen Protector: Compatible for the model of your new phone.
- Dust Removal Stickers: These help in removing the dust and debris before installation.
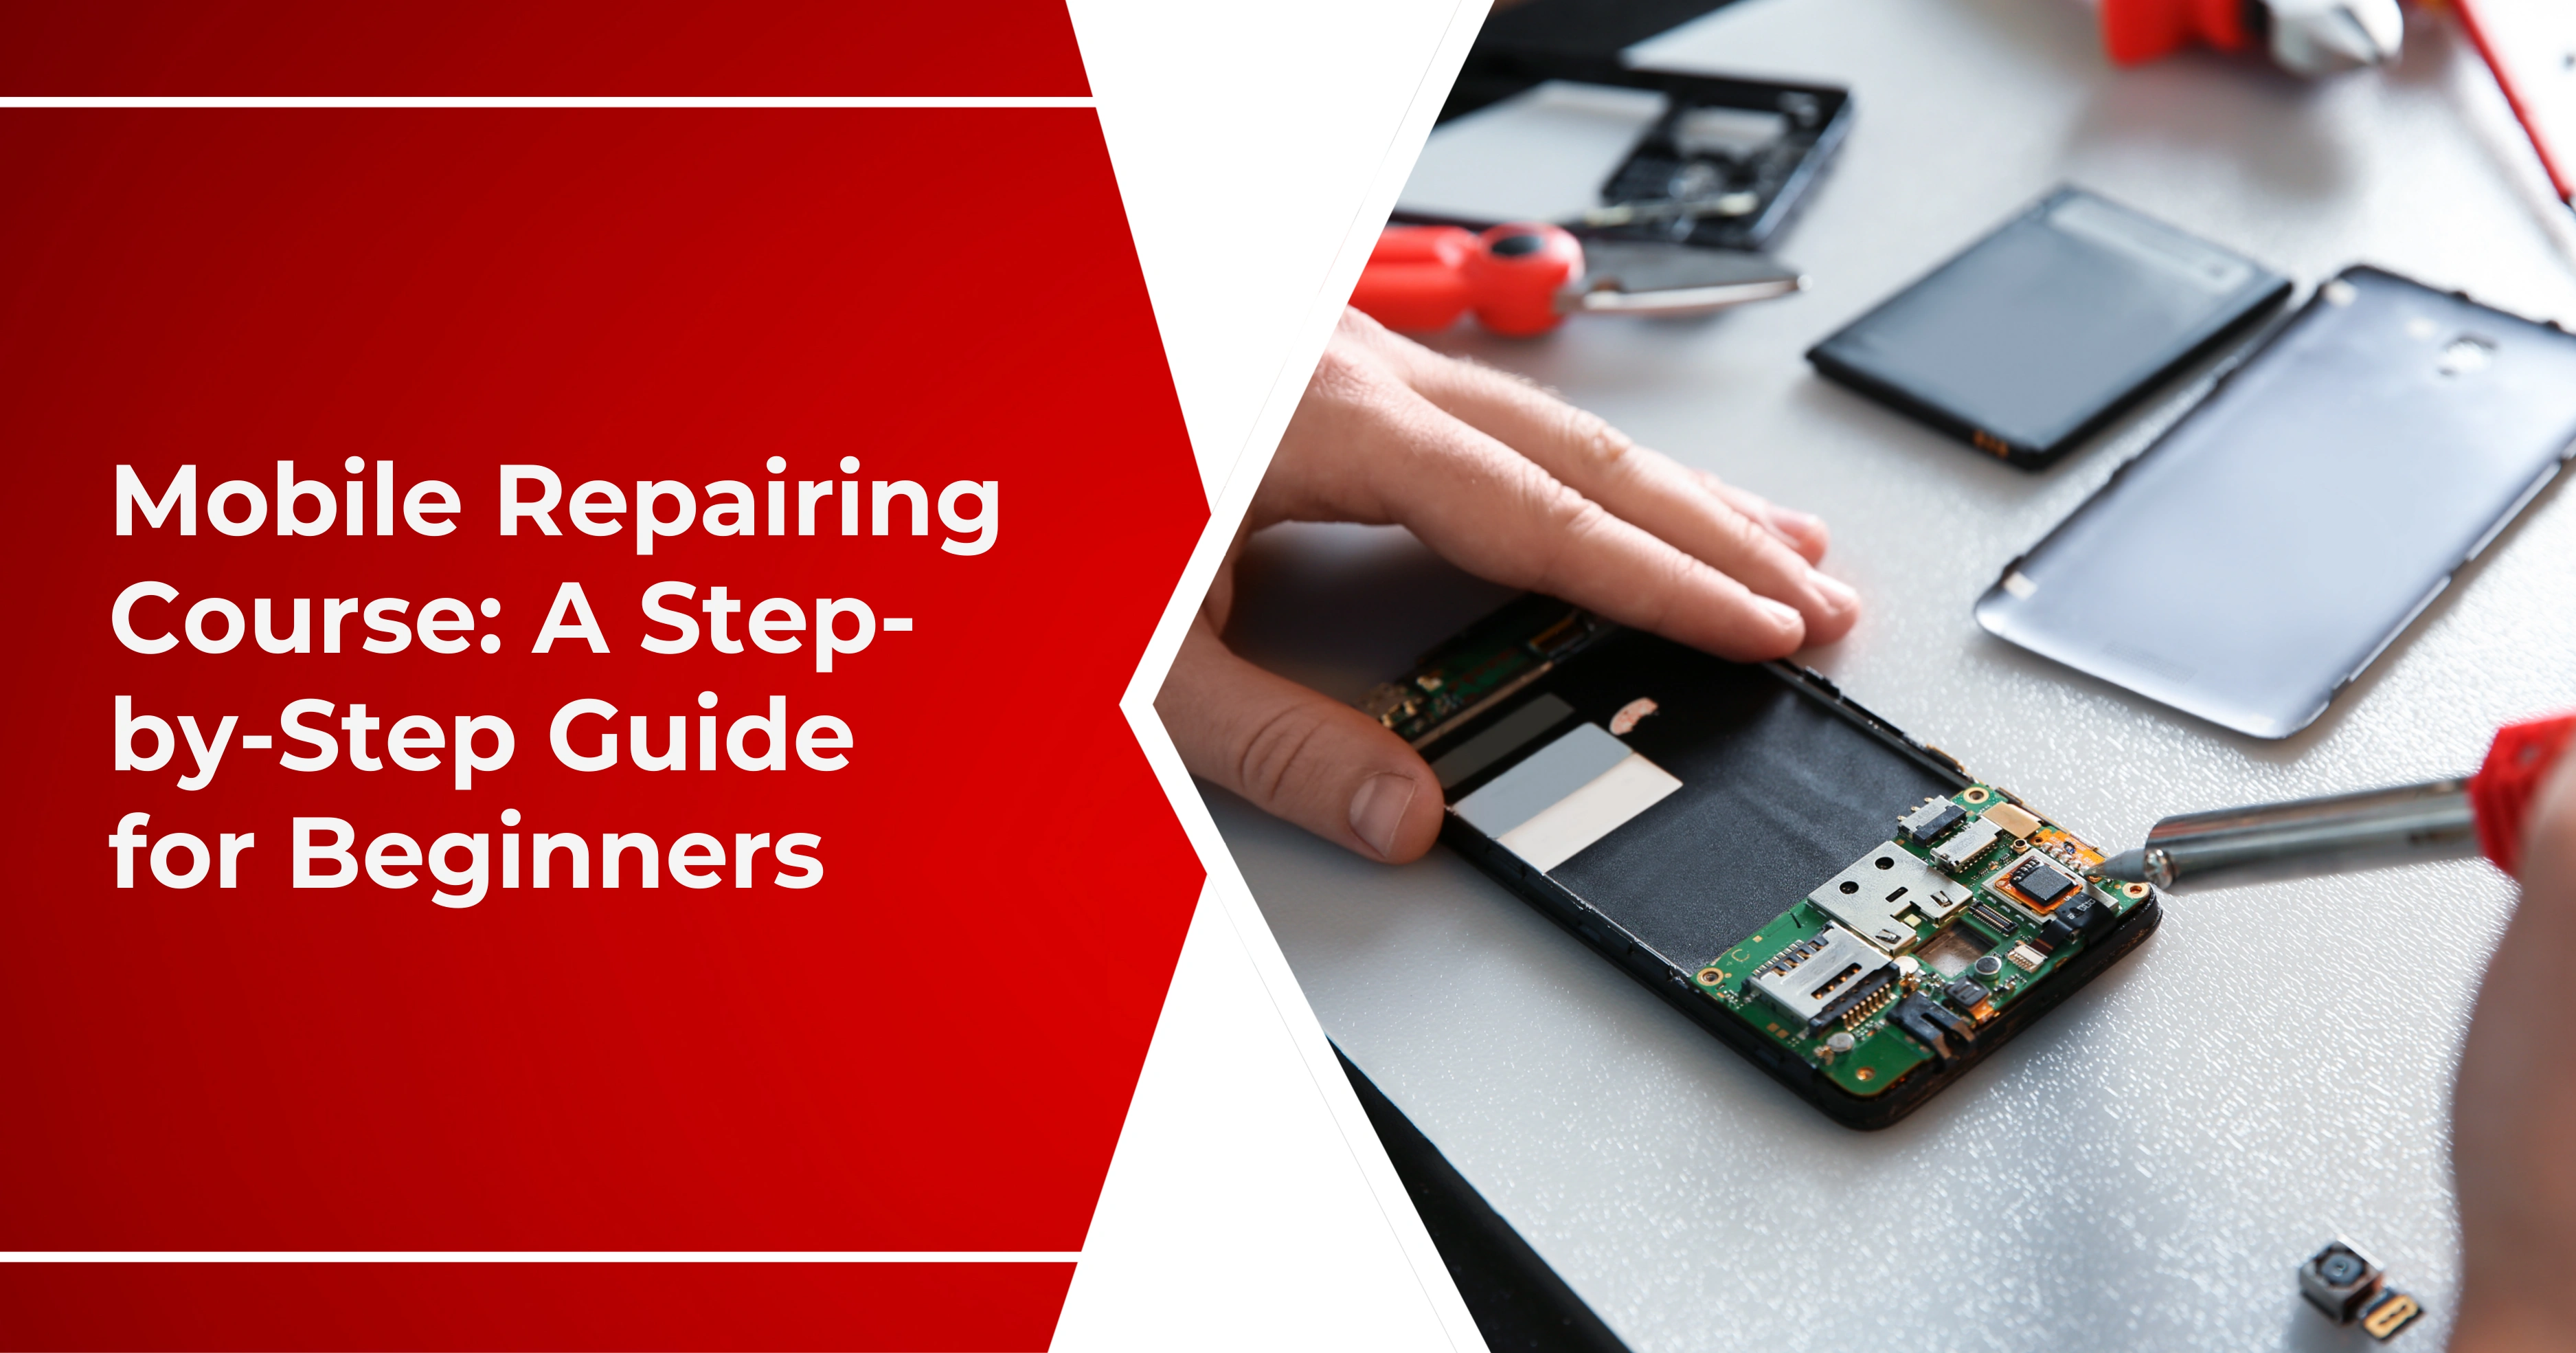
Step-by-Step Guide to Phone Screen Protector Removal
Removing a phone screen protector can be very simple if you know what to do. Here's a step-by-step guide to help you through the process safely and effectively.
Step 1: Prepare Your Workspace
Work on a clean, flat surface. Make sure your phone is turned off so you won't accidentally touch any part of it during the removal process. This will also give you a better view of any damage that may have occurred.
Step 2: Assess the Protector’s Condition
Before you begin to remove your screen protector, you first need to examine the condition of your screen protector. This will put you in a better position to know what to expect and therefore, to know how to best go about the removal.
Step 3: Loosen the Edges
Use a fingernail or a plastic card to gently pry the edge of the screen protector away from the phone screen. Start at a corner or an edge where the protector may be lifting. If it's particularly stubborn, a small amount of rubbing alcohol can help loosen the adhesive.
Step 4: Lift the Protector Carefully
Now that you've loosened an edge of the screen protector, it is time to take it out. Taking off the protector is quite a labor-intensive procedure requiring steady hands in case you don't damage the protector or your phone's screen.
.png)
Step 5: Remove Residue
After removing the protector, the screen will carry some residues of adhesive with it. Dampen a lint-free cloth softly with some rubbing alcohol, then lightly rub the screen to clean out the residues left on the screen. Check whether the remains are cleared away or not before proceeding further.
- Step 1: Clean the Screen: Clean the screen thoroughly with a microfiber cloth. Remove all dust, fingerprints, or smudges. A clean screen is important for the new protector to stick well.
- Step 2: Align the Protector: Carefully align the new screen protector to the edges of your phone's screen. Most protectors have cutouts for cameras and sensors which help in perfect alignment.
- Step 3: Prepare the Screen Protector: Carefully drop the screen protector onto the screen once you are satisfied with its alignment. Do it from one edge of the screen, allowing the protector to lie flat, and press down slowly as you let any air bubbles come out.
- Step 4: Clean Your Phone Screen: Use the microfiber cloth to clean your phone screen completely. This would prevent dust or fingerprints when you apply.
- Step 8: Remove Air Bubbles: Gently push the air bubbles to the sides working carefully not to scratch the protector. Once you've placed the protector on your item, use the microfiber cloth to clean up the surface and wipe off fingerprint marks and smudges from the application process.
Guide to Phone Screen Protector Installation
Now that you have removed the old screen protector, it is time to put in the new one. These are the steps to make it a hassle-free installation:
Conclusion
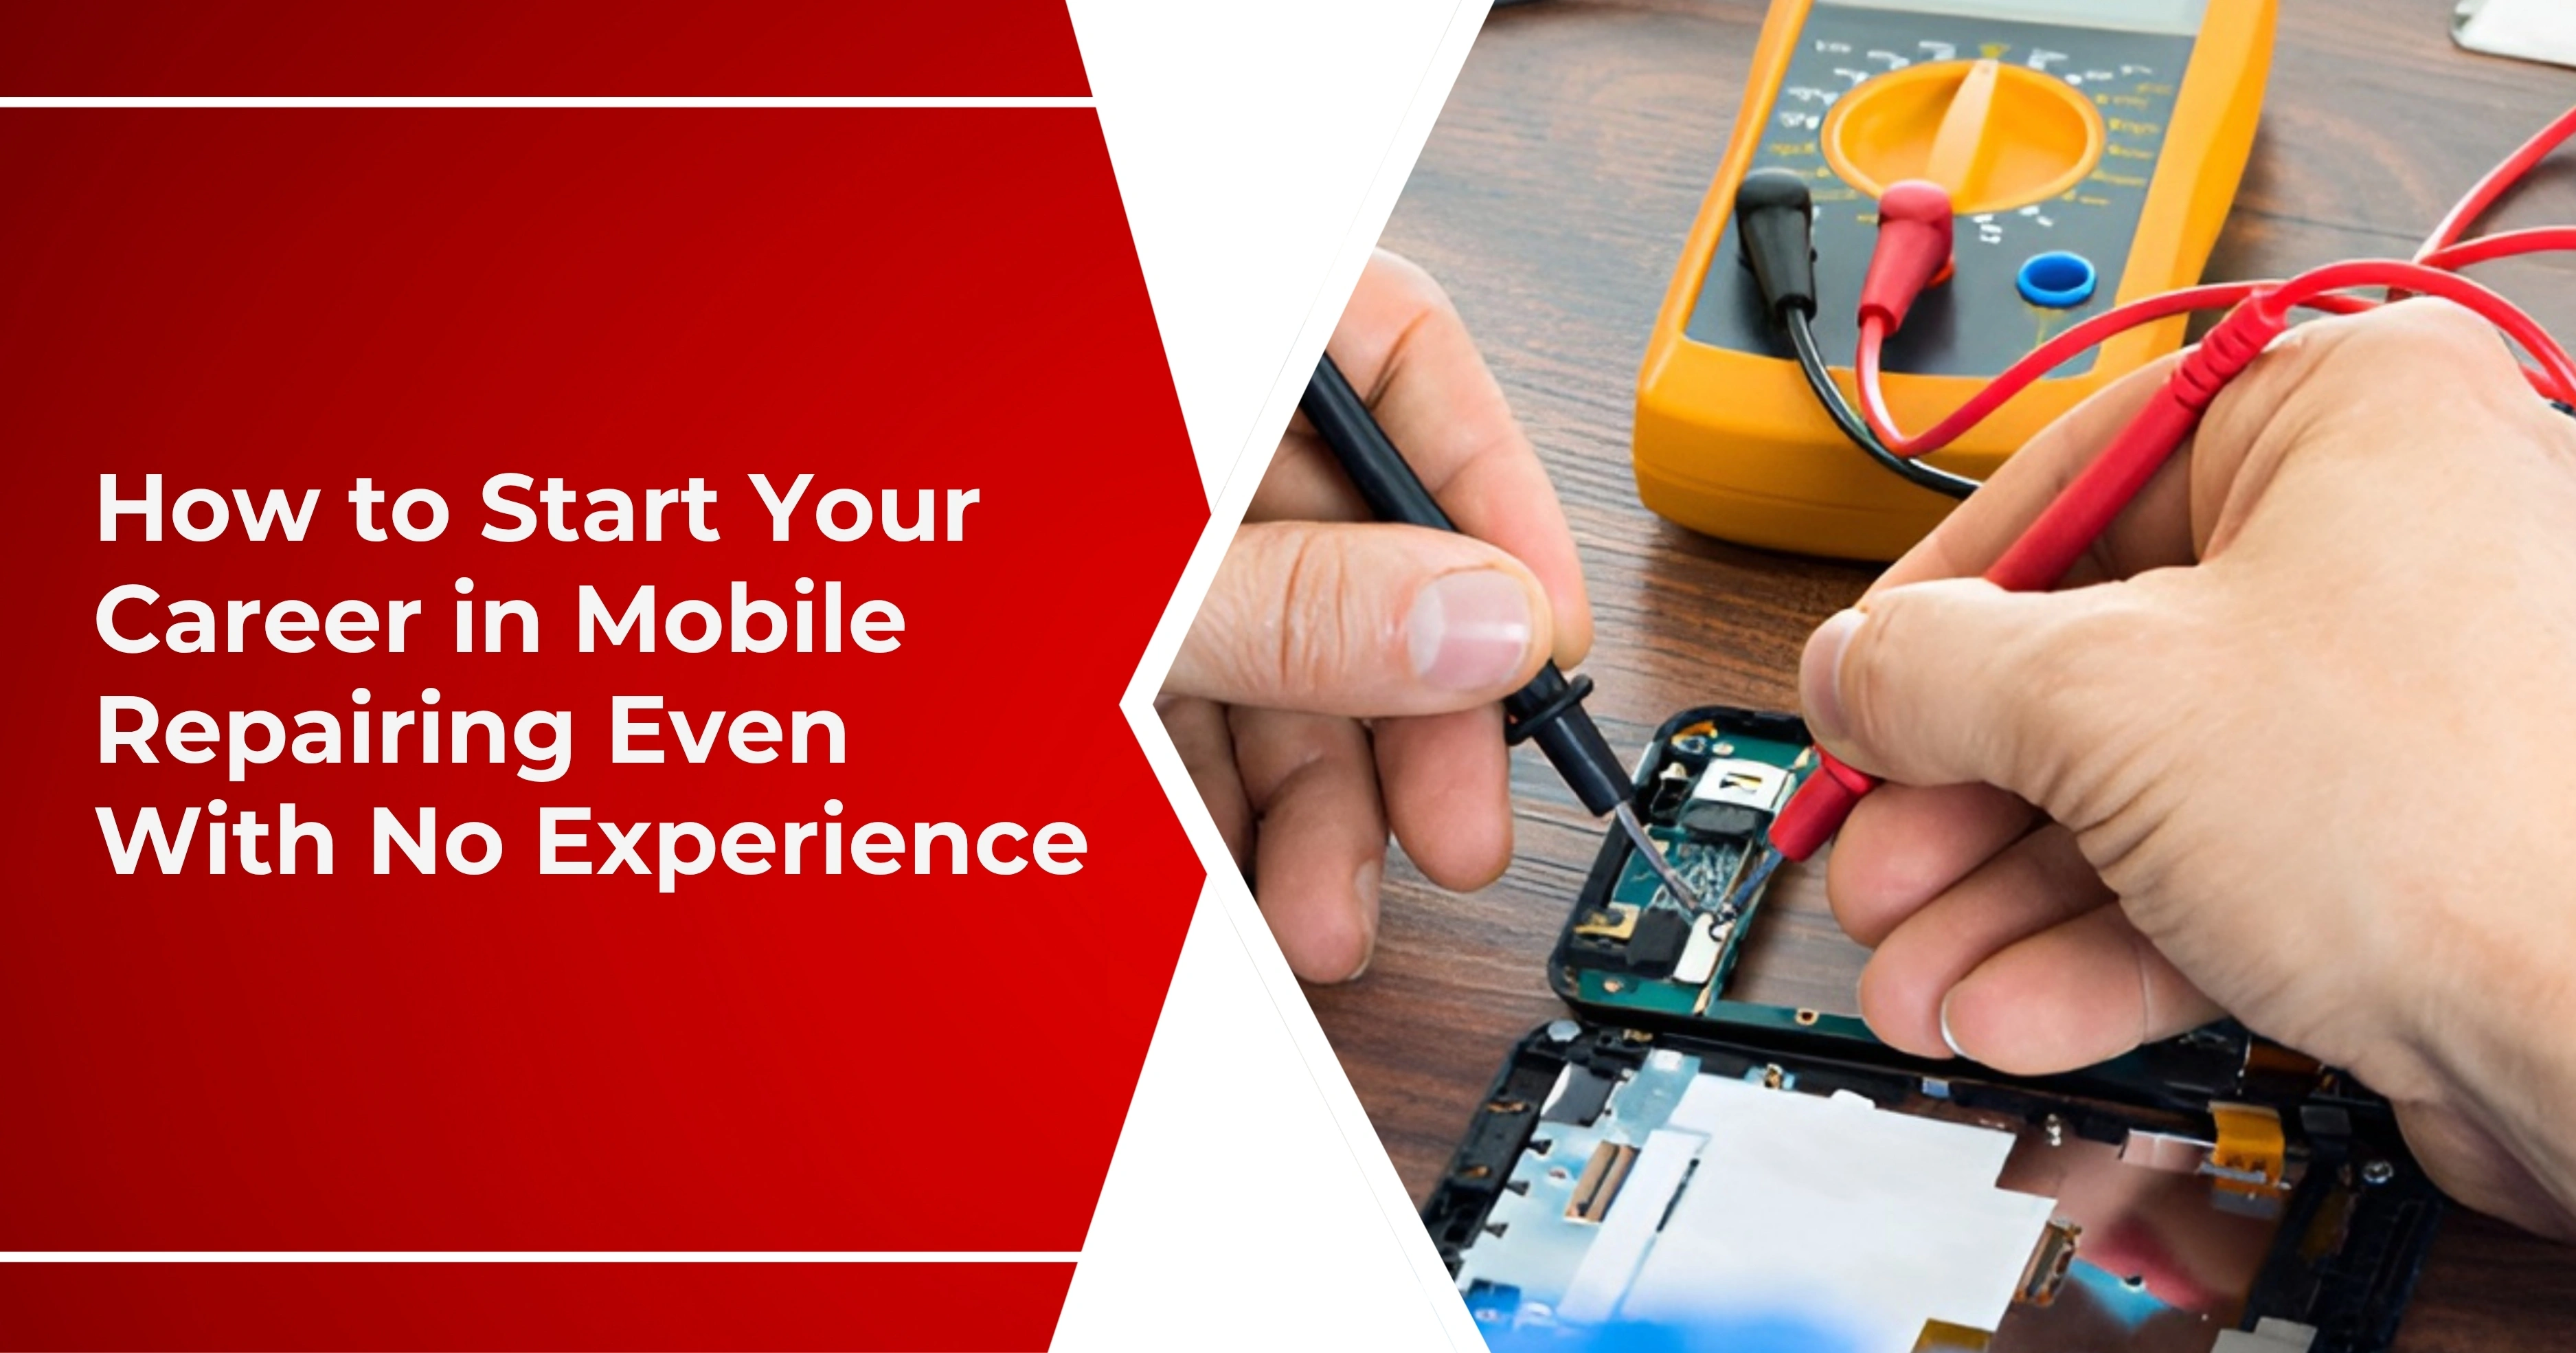
Removing and replacing a phone screen protector does not have to be such a Herculean task. All it requires is some proper tools and a bit of patience. You will always keep your device safe and looking at its best with the help of this guide for smooth installation of the phone screen protector. If you want to kickstart a successful career in mobile repair, AK Info’s hands-on course is your gateway. Enroll today and turn your passion into a thriving profession!
With good care on your screen protector, it will help make your phone last longer while allowing you to experience something worthwhile that you'd want to retain.